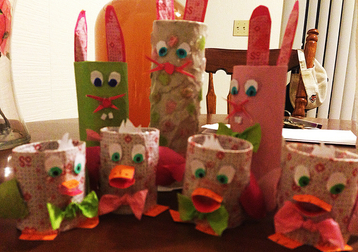
After seeing these pop up on pintrest a few times, I decided they were just too cute to not try! So after a few days of collecting toilet paper rolls (sad to think it took little over a week), I was ready to give it a shot.
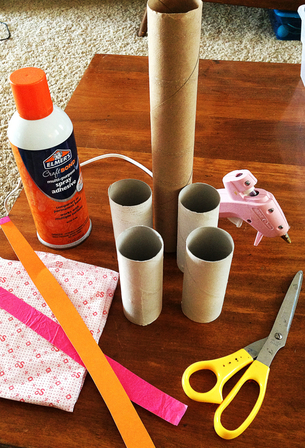
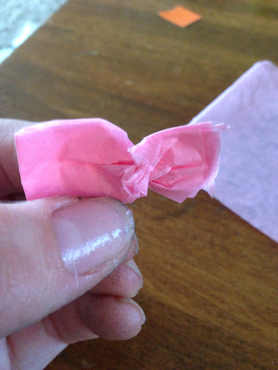
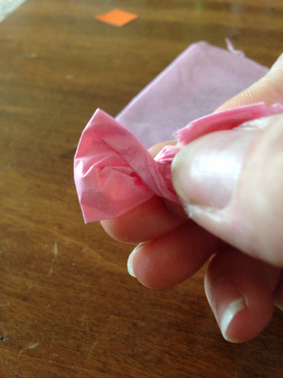
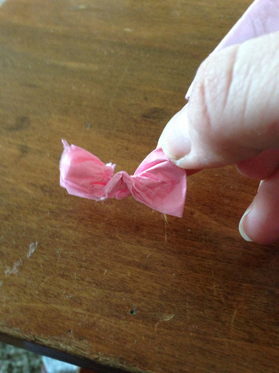
For this craft, you will need some leftover paper towel and/or toilet paper rolls in addition to whatever you will be using to decorate your bunnies. I made a few of different sizes, in different colors, using tissue paper and construction paper to create polka dots (for the tallest bunny). I also used tissue paper to make the little bow ties for my bunnies and duckies. If I make more of these, I would consider using paint, or decoupaging with magazines or written words, which I think might look very nice.(Also a burlap bunny would be pretty cute--but I never seem to have any burlap)
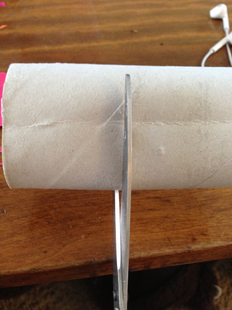
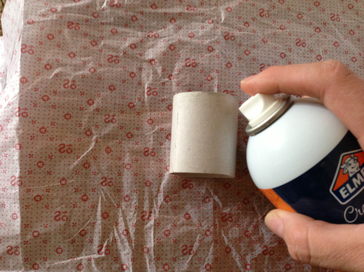
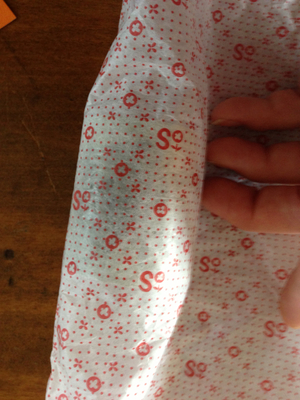
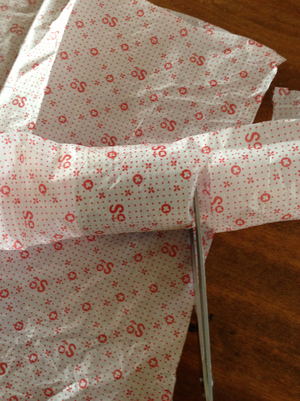
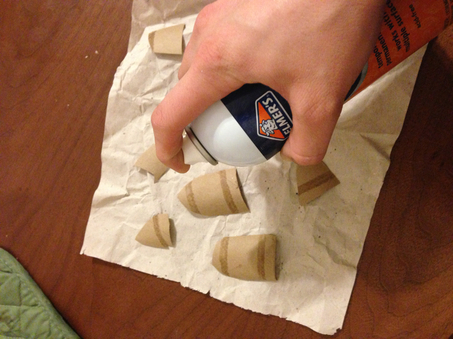
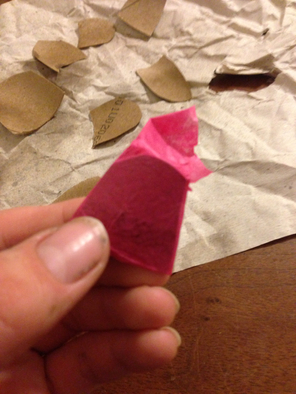
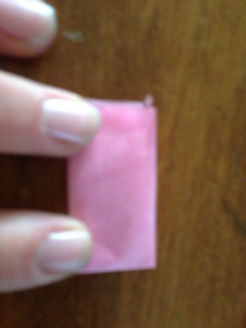
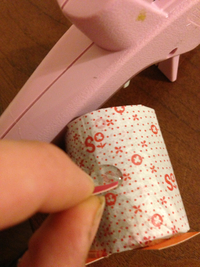
To begin, assemble the cardboard rolls to be used for your paper animals. You can cut paper rolls to make animals of different sizes. Since I did this both ways, I would recommend cutting before decorating (it's just easier when you have the forsight!). Once you have your cardboard for your animals, spray some adhesive onto the entire surface of your cardboard and roll it onto the tissue paper, completing covering the roll. You could probably use mod-podge if you don't have spray adhesive, but be careful, since tissue paper will not be able to be moved once placed ontop of the mod-podge (it may rip if you try to move it!). Alternatively, you could also place a few dots of hot glue onto the seam and wrap the tissue paper around, pressing into the glue seam to hold in place (just don't burn yourself!).
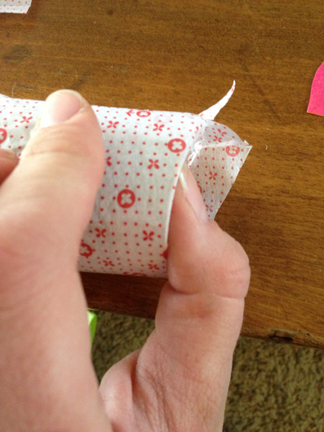
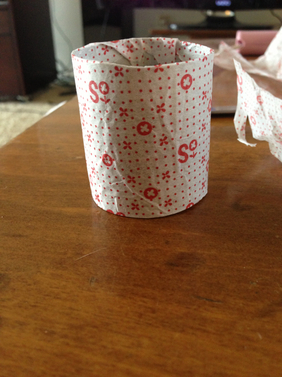
Trim the ends of the tissue paper and tuck into the tube. Press the tucked paper into the cardboard, if you've sprayed the tube thoroughly, the paper will probably stick. If it does not, you can use some dots of hot glue to hold the paper in place.
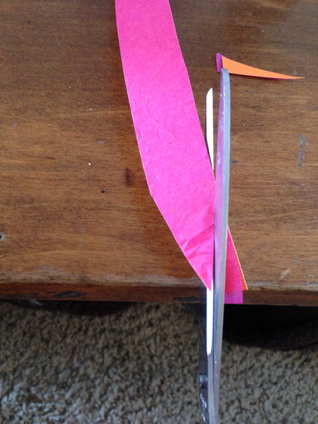
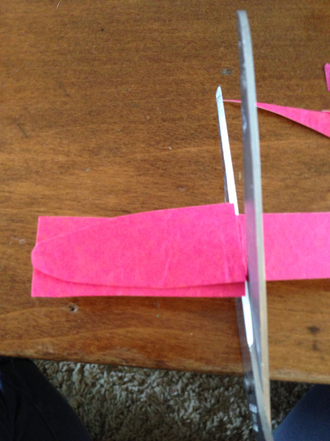
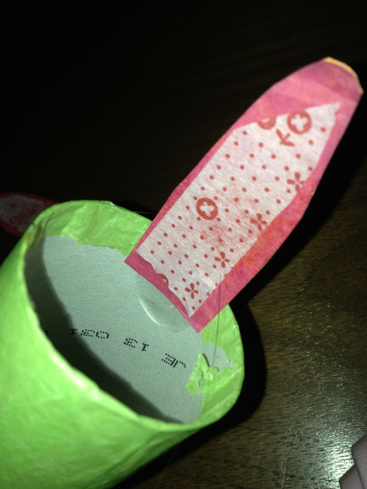
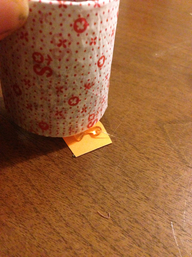
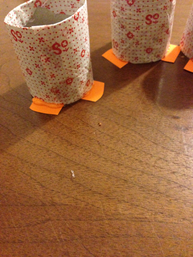
Trim cardstock or construction paper to make ears for your bunnies
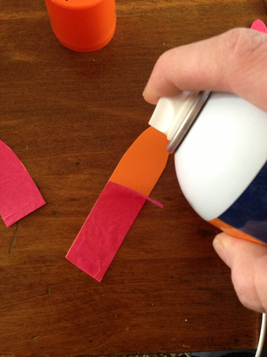
use spray adhesive to stick tissue paper to your construction paper or cardstock to make interesting color combos
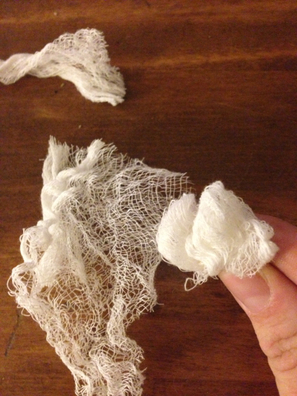
Cheesecloth makes a great fluffy tail in lieu of cotton balls
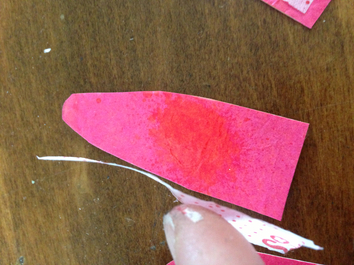
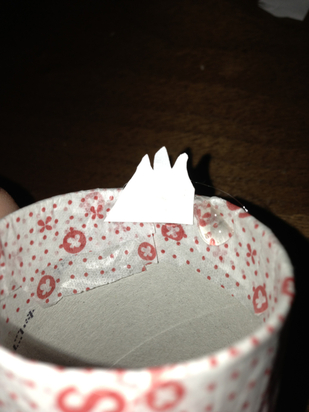
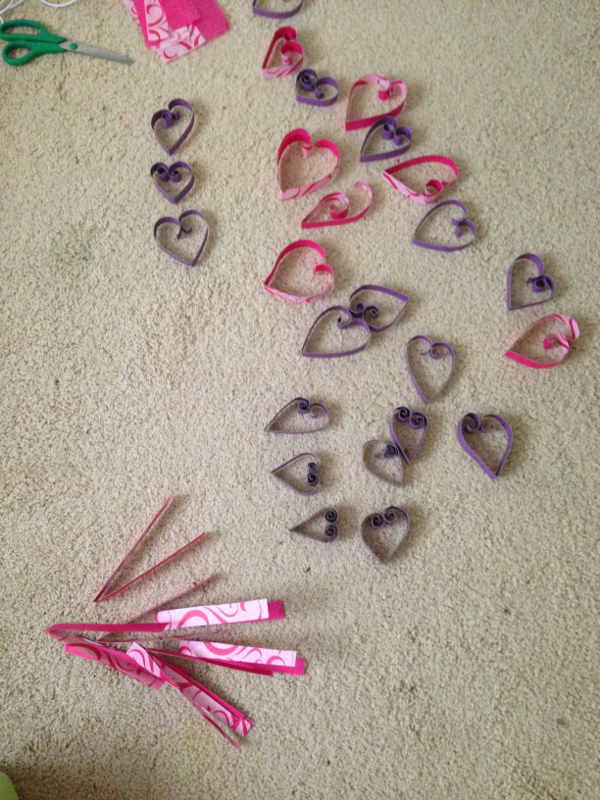
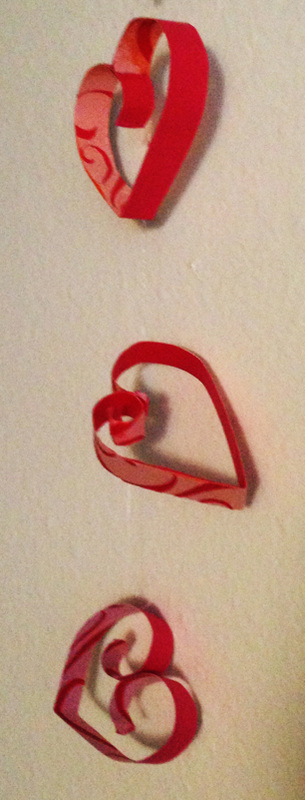
Now that your bunnies (or ducks etc) have their faux hair, cut the ears, feet, noses, eyes, whiskers, and wings (for the ducks!). You can use construction paper, cardboard or cardstock paper to make these details. I had some scraps leftover from my paper heart garland, so I used cardstock that had been sprayed and stuck to tissue paper, which gave my ears a fun, funky look, but I realized I wanted a bit more detail, so I sprayed adhesive and stuck a lighter piece of tissue to the ears. I recommend stacking paper to create matching pairs of ears, feet, etc. this helps ensure unique shapes are about the same size and look even. It also allows you to make more decorations, easier. As another time saver, (as mentioned above)I used a lot of scrap material for decoration, including for my noses, whiskers and feet. I suppose they might be cuter with shaped feet (big rabbit feet or webbed ones for the ducks) but I was feeling pretty lazy, and so scraps were soo good enough for these little guys. I did, as an afterthought, give them big bunny teeth and poofy tails that I made out of a bit of cheesecloth I had lying around.
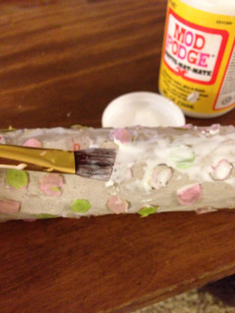
Coat your polka dot print in mod-podge to seal and finish.
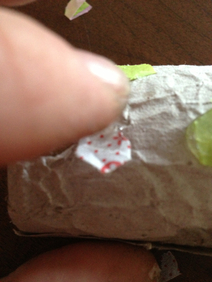
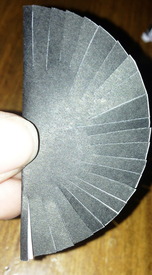
If you're really up for a challenge, try making your own pattern using cut up paper and hot glue. You can make polka dots, stripes, or decoupage written words or photos or something to add extra preaonalization. For this bunny, I stacked a few colors of tissue paper, folded it into a square and cut the square into a circle to make polka dots. I then got glued these to my tube. Be careful at this step, since its easy to burn yourself... I guess you could use mod-podge or regular craft glue to stick these (the spray adhesive would work nicely too), but where's the danger in that? Also, I like the way the paper sinks into the hot glue, making it look like buttons. After the tube is completely decorated and has dried, you can cover it in mod-podge to finish it, but know that you will need to let it dry before any other decoration can be added, and really it might make more sense to finish decorating (add ears, eyes etc) before sealing with mod-podge...which is of course not how I did it. Learn from my mistakes ye clumsy crafters...
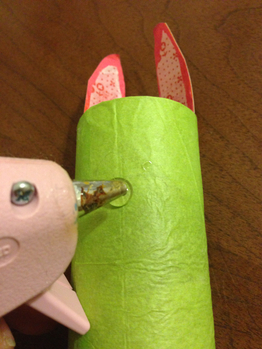
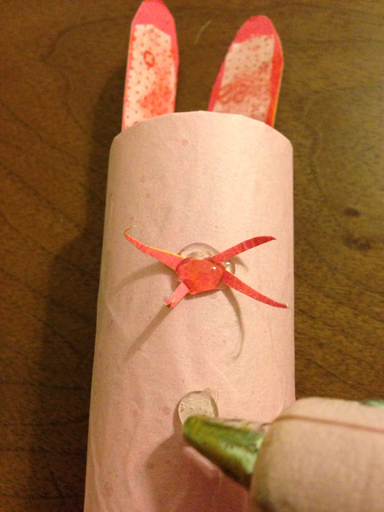
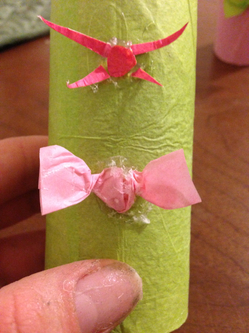

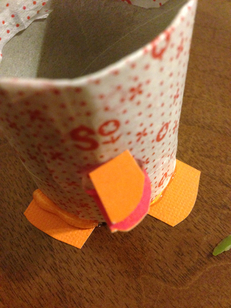
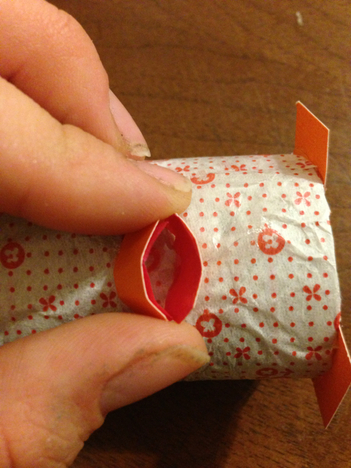
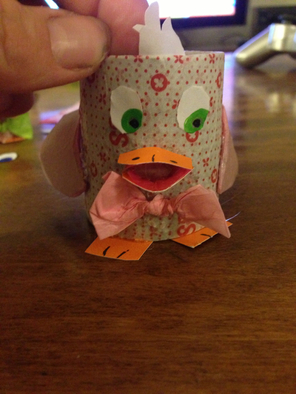
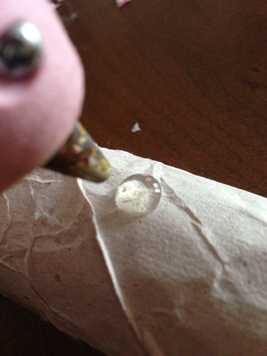
Add decoration to your animals using hot glue. Be careful not to burn yourself, and keep a pair of scissors handy to take care if your glue strings. Try not to overdo it, I constantly use too much glue and end up with a very whiskery end product...but I figure that you don't often pick up nick-knacks and so as long as they look good from the shelf, I am generally statisfied. I think that the animals look better with more detail so I suppose a little hot glue is the price we pay... Add as much detail as you have the energy to craft...my tolerance was pretty low when making these, oh well, they still look pretty cute...and I'm glad I added the tufts of hair to the ducks, I really think it adds something. Maybe next time they will get little tuxedos...I've also thought about making them little baskets to carry out of cardboard. So have fun with these little guys, they're easy to make and soo customizable. Plus you can use them as little containers for Easter candy, and who doesn't love that?!

 RSS Feed
