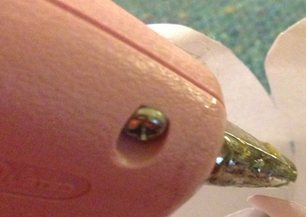
Lately I've been having trouble with my glue gun. You may have noticed how sticky it looks in some of my pictures...
As I was standing in the craft aisle at Walmart, I decided there had to be another solution. After all, though my gun was thoroughly destroyed, I had only had it for a few months (what can I say, I am hard on my stuff). So I opted to try to clean my gun instead of buying another (mind you, I am talking about the cheapest version that they sell at Walmart).
After some internet sleuthing, I found this tutorial from Instructables.com which shows IPA (rubbing alcohol) to be very useful in separating objects from the thugs to which they'd been glued. Using this method as a guide, I started by rubbing cold IPA on the outside of the tip, where the metal meets the plastic, to try and remove backed up glue. This did not really work in my situation (there was just too much glue!), although it did help me to remove some of the glue that was smeared on the table from previous projects.
WARNING: the next steps attempted involve the use of heat, and tools to take apart the glue gun. It is likely that the following steps are not recommend by the manufacturer and they may void any warranties under which your equipment is covered.
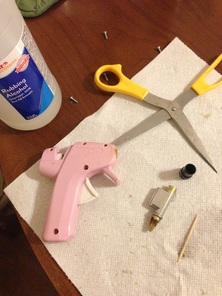
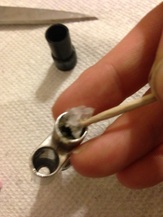
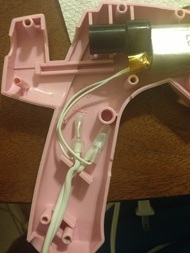
I then attempted to use the IPA while the gun was plugged in. Please see the above warning if you haven't already. I used a cotton swab to remove glue from the crevice between the plastic and the metal tip. As I was doing this, I noticed that glue was dripping out of some of the holes where the gun was screwed together. I turned the gun off and let it cool back down. I then grabbed a screwdriver from the garage and removed all of the screws from the device, taking it completely apart (actually it sort of sprang open and fell apart, but it sounds better if I say I took it apart-ah well, I guess the jig is up). Just don't forget to remove the electrical pieces.
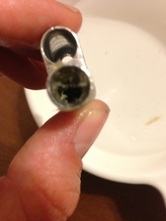
With the gun open, I was able to remove the most solid pieces of glue from the holder (there was a significant chunk in the rubber piece that sits between the metal tip and the plastic holder. I then soaked the pieces in IPA, to hopefully dissolve some glue.
| 
|
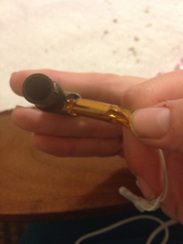
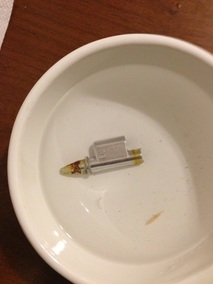
After an hour or so of no real progress with the soak, I decided to try to boil the metal pieces, since these were the culprit of the glue gun failure. I have to again point you to the above warning. I placed the metal tip in a pan with a decent amount of water and brought the whole thing to a boil. After a short while my progress was clear. I could see bubbles being released from both previously glue plugged ends.
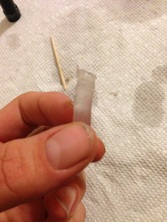
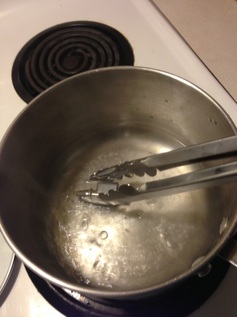
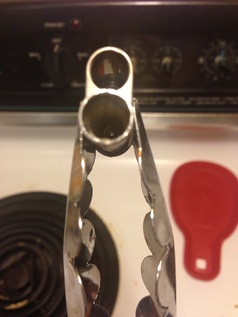
After boiling the metal for a little while, I took a bamboo stick and used a pair of prongs to remove the metal tip from the boiling water. I inserted the bamboo stick into the wide end of the plug and scraped any remaining glue from the inside of the tip. Since the tip was in boiling water, the glue is very pliant and easily removed.
| 
|
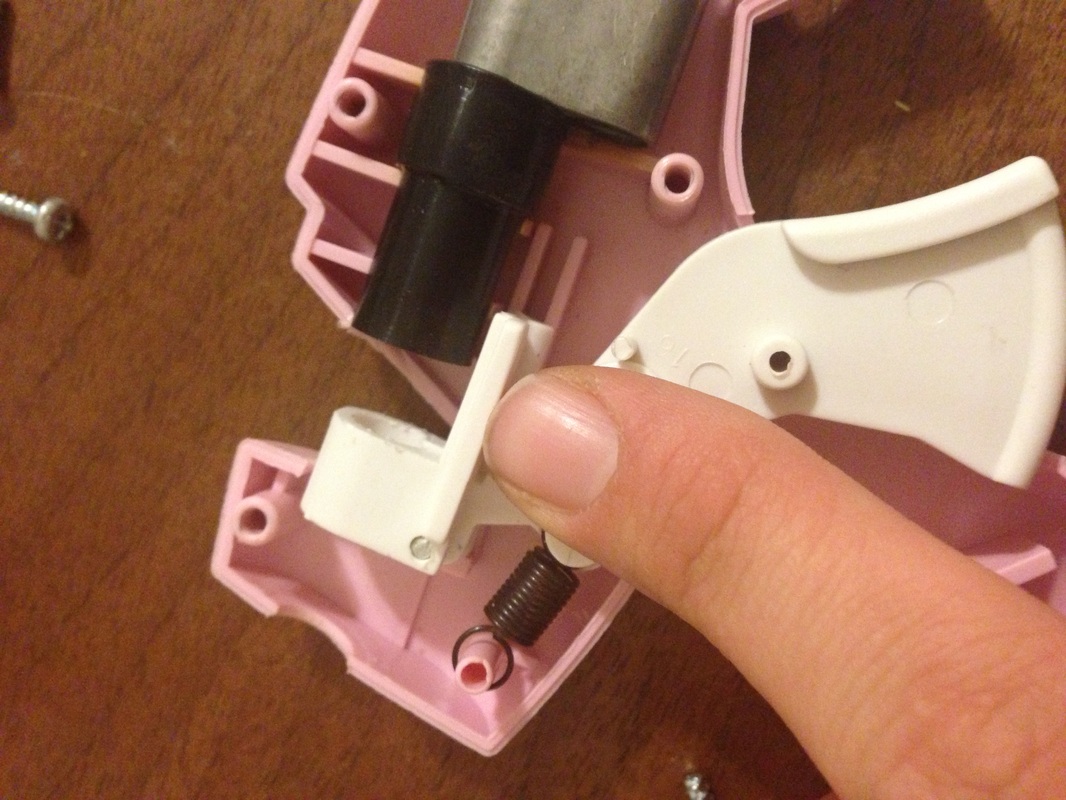
I let all of the pieces dry for about an hour before putting it back together. Luckily the gun has many notches and it is pretty easy to see how it all fits together.
| 
|
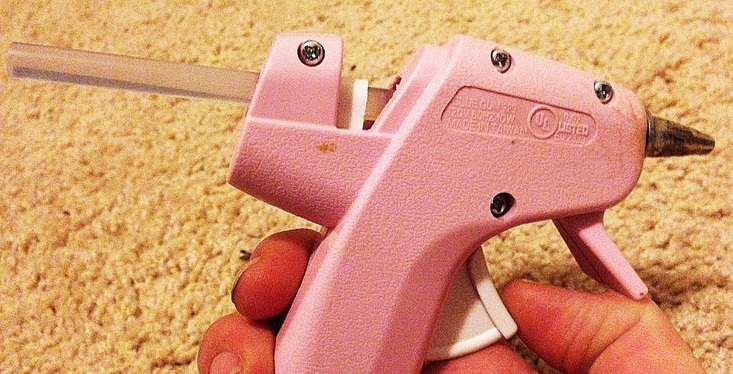
Once back together, I tested the gun---voila! It works perfectly (albeit still a bit dirty looking) and I saved my $6!
 RSS Feed
