I've been meaning to share some of my recent greeting cards, which I have made for various folks and sundry holidays etc.
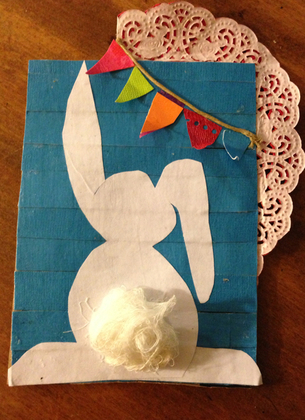
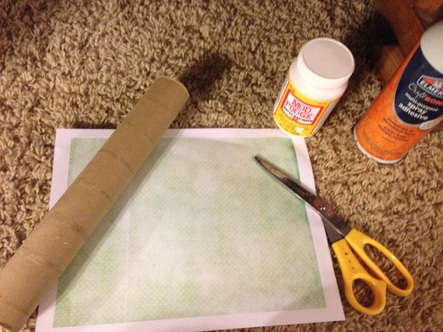
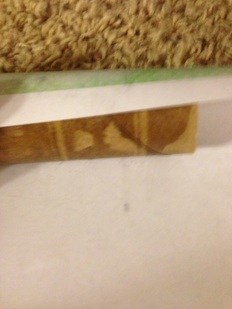
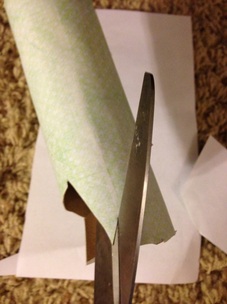
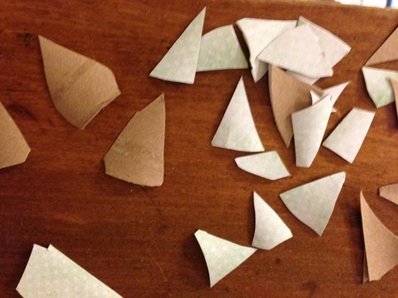
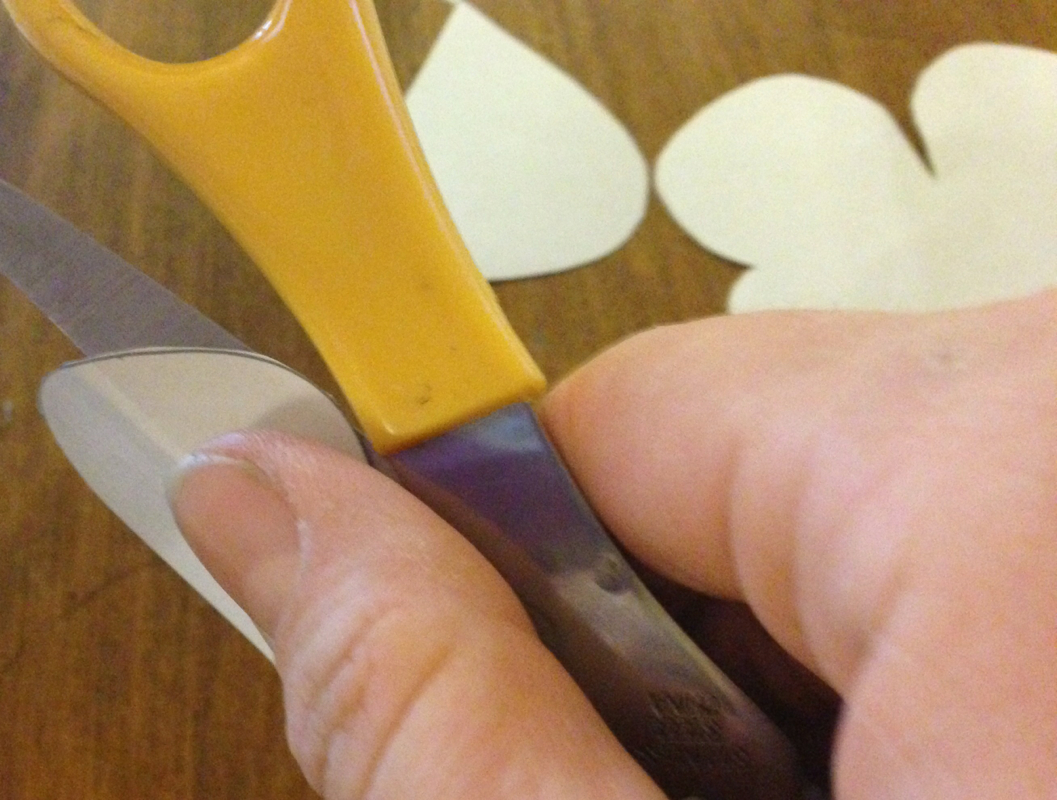
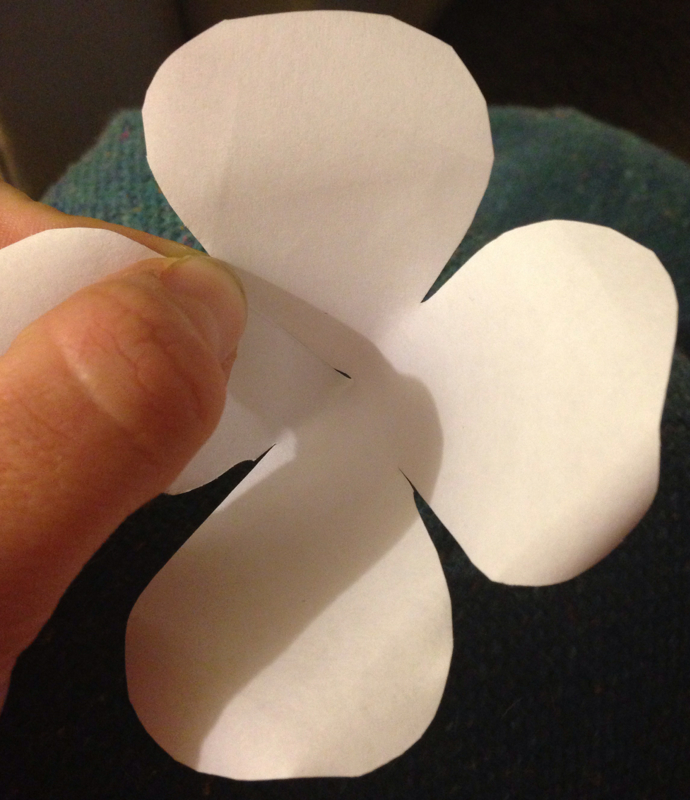
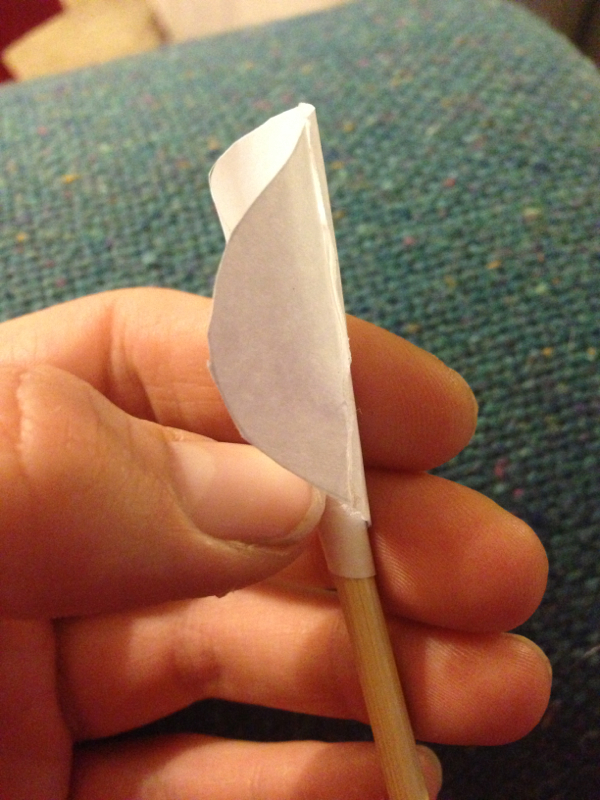
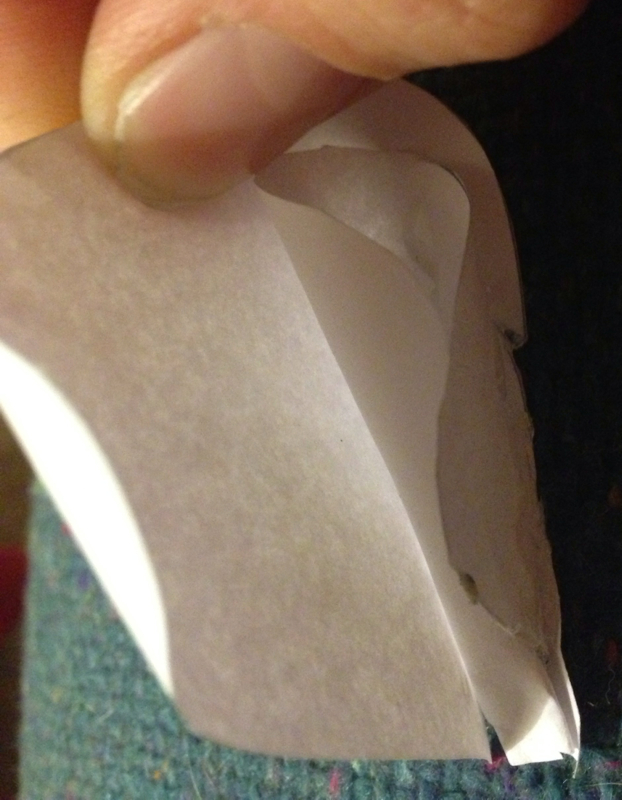
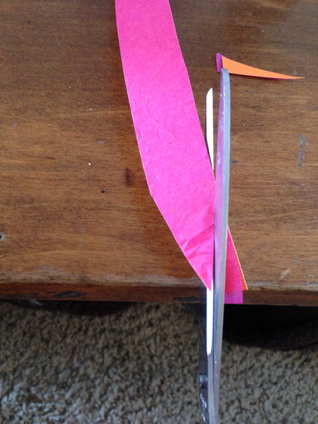
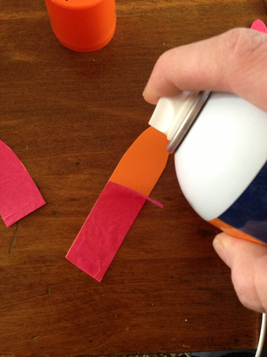
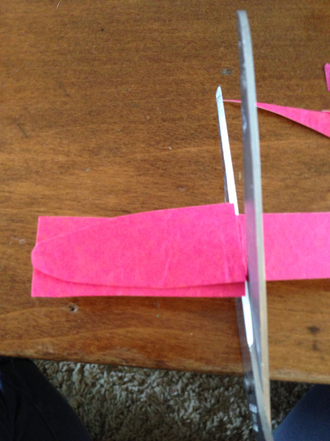
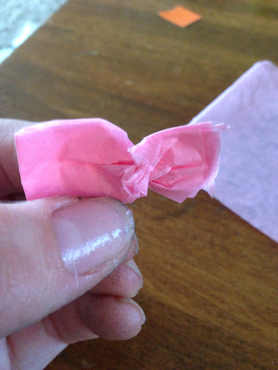
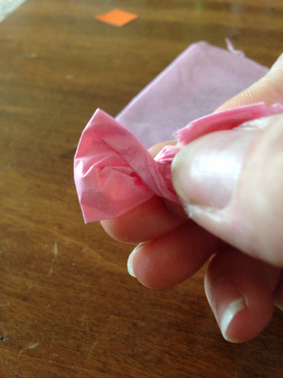
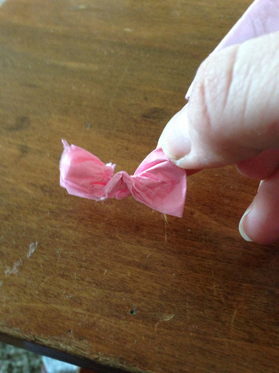
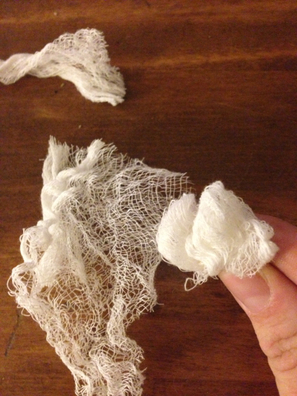
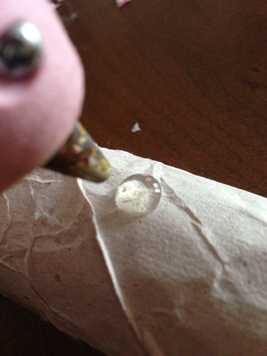
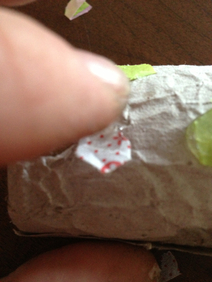
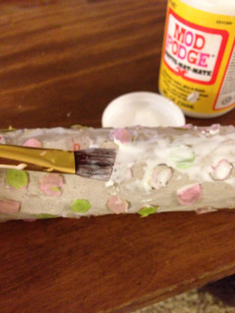
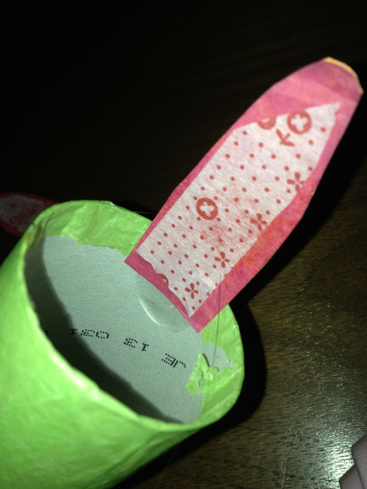
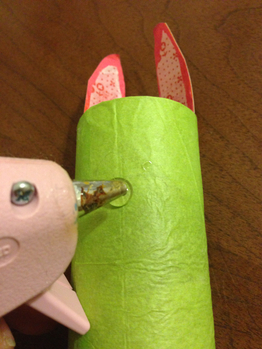
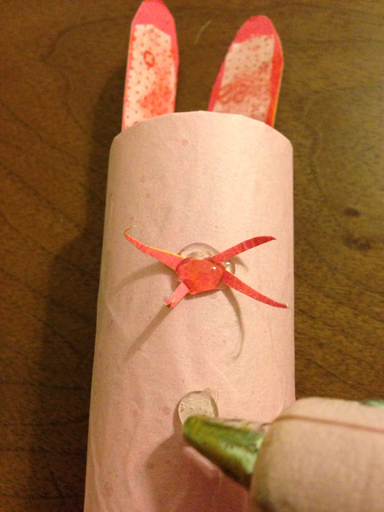
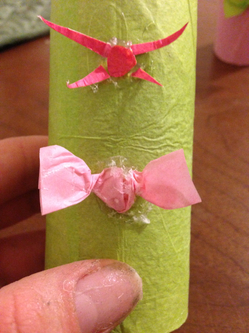
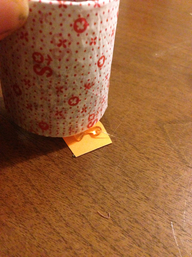
Happy Easter! This little bunny card was made from thick colored paper cut into strips and covered in mod podge to adhere it to a piece of brown paper bag that I cut up. I then cut the bunny outline from a plain piece of letter paper and gave him a tail made from a balled up piece of cheese cloth. The flag was made by cutting little triangles from scrap paper and gluing a piece of hemp on top to serve as a string for the garland. I also added a piece of a paper heart-shaped doily that I cut up and painted. To be honest, I can't recall what the back of this card looks like (I think it's just brown paper with a short message)...so sorry!
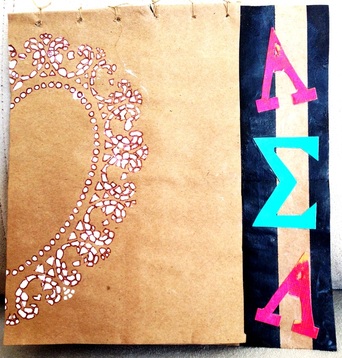
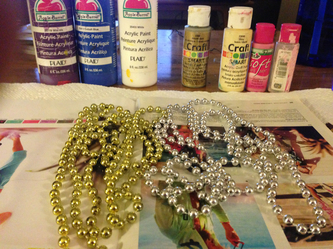
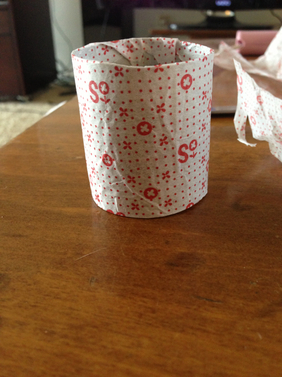
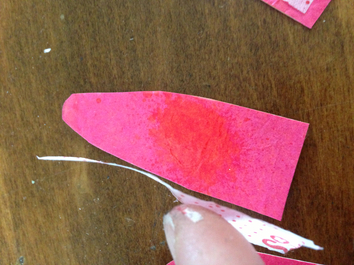
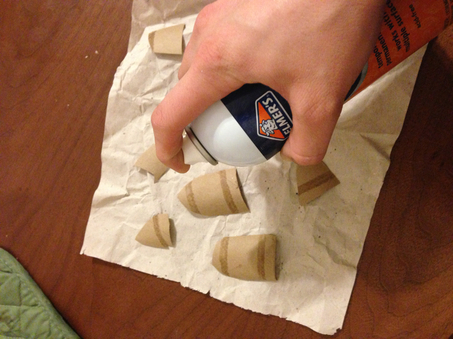
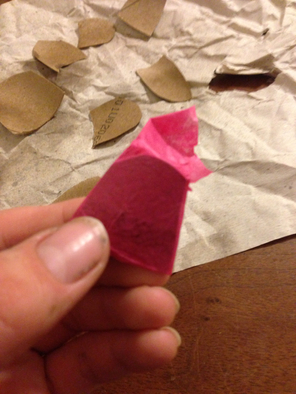
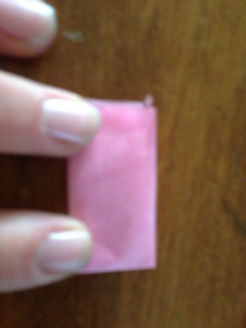
Welcome to our sisterhood! I made this sorority card for my favorite spring pearl '13 to welcome her home! It is made from a DSW bag that I stitched together with hemp. The heart on the front is hand painted, using a paper heart doily as a stencil, it is admittedly a bit sloppy (though made with love!). I traced the painted pattern with pen to clean it up a little bit. The Alpha Sigma Alpha is hand cut (obviously--it is a bit raw) card stock to which I stuck some tissue paper (I didn't like the orange color of the card stock). FYI the inside is opposite, so the top is black stripes and the bottom (where the message is pasted) is brown paper.
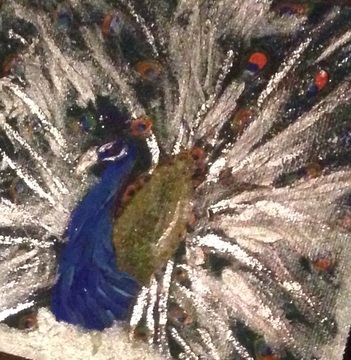
Tis the season! Last year, I had a peacock themed christmas! Both of these cards are hand painted with a bit of ink outline. This one probably took the longest to make, and weighs twice as much from all the glitter paint...
| 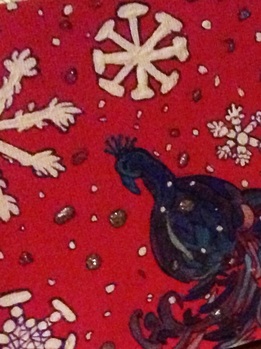
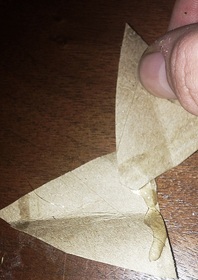
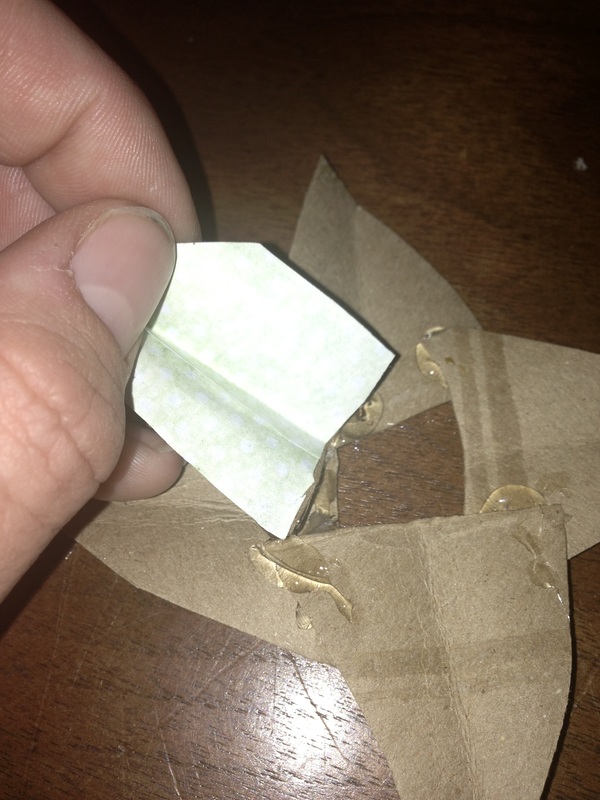
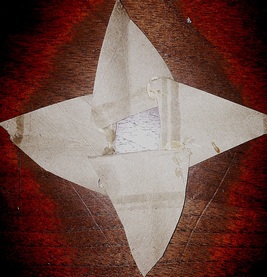
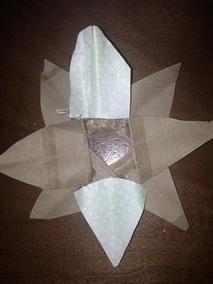
The glitter here is meant to be falling snow...also I've decided never to make snowflakes like this again..they're way hard for someone who's not that artistic...but they looked so easy!
|
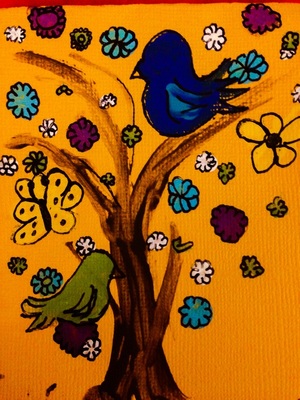
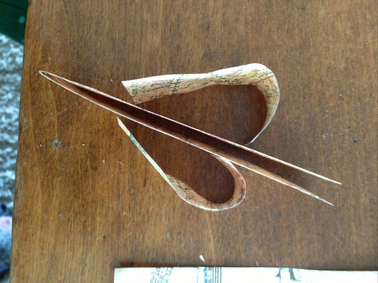
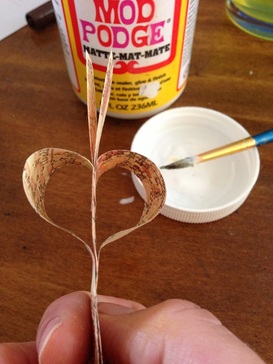
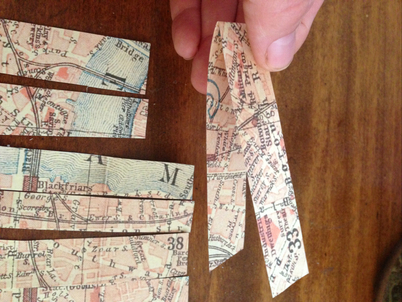
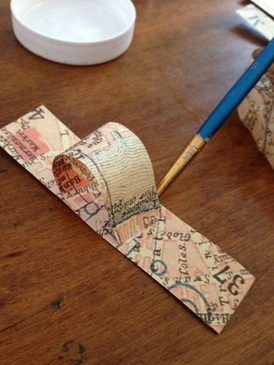
and finally, a card for a spring-time thank you. This one is hand drawn and painted, though it looks like it was made by an elementary schooler, i think it has a certain rustic charm, though maybe the butterflies are a bit much...


 RSS Feed
