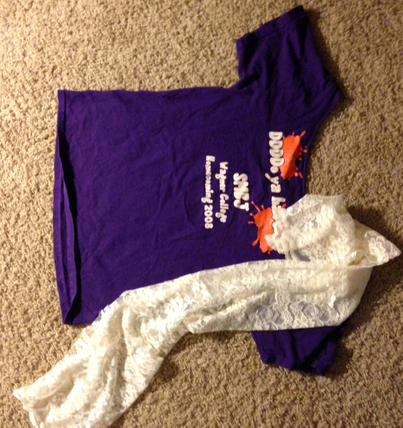
| I have been making a lot of paper crafts lately, so i thought I'd try something a little different. Recently I saw this intriguing tutorial from Humblebee & me for a DIY infinity scarf, made with an old t-shirt and a piece of lace. I thought to myself, "my, this looks easy" and set out to make one. Now, I think my version probably has too much t-shirt, but I suppose you could add more or less pretty easily depending on your tastes. Initially, as mentioned, I thought the aforementioned tutorial was super easy, but I must have re-read it too many times, because I became confused in its simplicity. I called my dear mother and had her look it over and talk me through it (she is a seamstress and pattern maker after all). I confused her a little with my idiocy, but she figured it out and called me back. I, of course, forgot and then had to mess with the fabric a bit, but it turned out that my initial instincts were correct and so the tip here is to stop doubting yourself oh fellow clumsy one, because my scarf turned out okay in the end...I might even keep it! |
| Start by grabbing any t-shirt (although if you choose something with a graphic it can be difficult to hide--as you will see with mine here). Make a horizontal cut across the width of the t-shirt directly below the sleeves. You may cut less if you need to avoid a graphic or if you'd like less t-shirt in your scarf. I used a women's large t-shirt, which was the perfect length to loop around twice when done. | 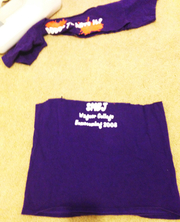
Cut straight across your t-shirt below the sleeves to make a tube.
|
| Cut the bottom half of the t-shirt along one side to turn your t-shirt from a tube into a strip. Try to be careful with your cutting, since raw edges can be difficult to hide. Theoretically your top-stitch will polish and hide uneven edges, but the length of the t-shirt will be visible in the finished product. Mine turned out quite scraggly, so I have been hiding them with clever folding but lately have been thinking about adding another seam to better hide some of these messy bits. See more of my thoughts on hiding design errors and crafting accidents in this clumsy crafting tip. | 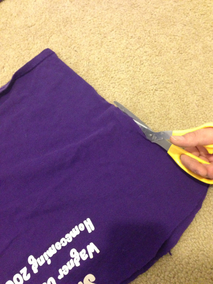
Cut the t-shirt along one side to turn it from a tube into a strip.
|
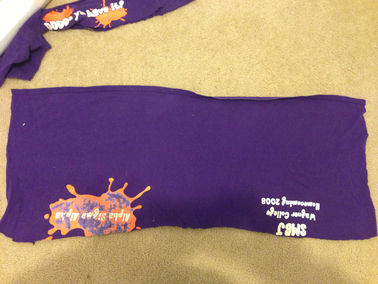
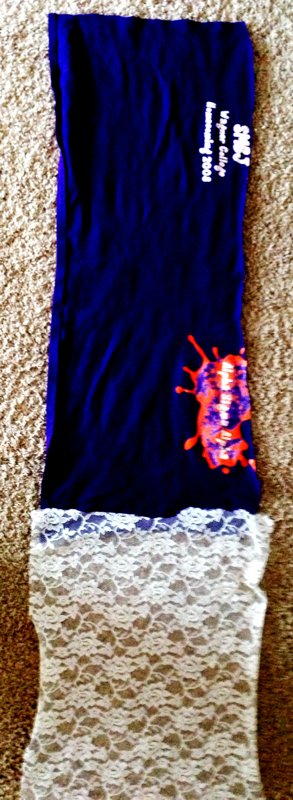
When you're done, you will have a long rectangular strip of t-shirt...which hopefully has straighter edges than mine (I should have used the sewing sharps my dear mother gave to me for Christmas).
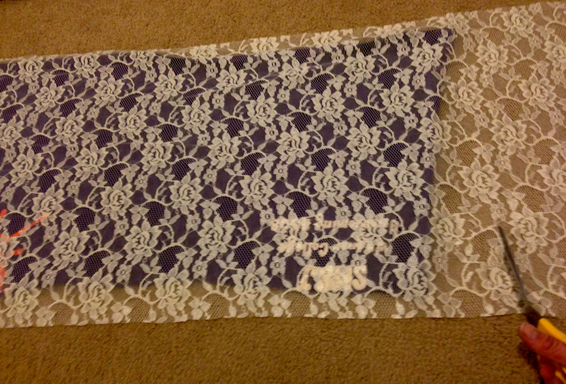
Cut a piece of lace the same width and 1/2-2/3 the length of your t-shirt strip.
| You will also need a piece of lace the same width as your t-shirt, you can cut it shorter or longer depending on your tastes, my lace is about 2/3 the length of the t-shirt. I happened to have this lace lying around (pretty sure I bought some remnants one day at Walmart), but you could use lace from unwanted curtains, doilies, table-cloths, etc. I have decided that I prefer the lace to be uneven, as it gives a nice rustic look, and layers nicely over the fabric. I did not make mine this way, but I am thinking about ripping it apart and trying it (don't worry, I'll keep you updated). With your lace and t-shirt cut, align the short edges of each piece of fabric and pin together to form a loop (I pinned and sewed one side at a time to make it a little easier to sew). 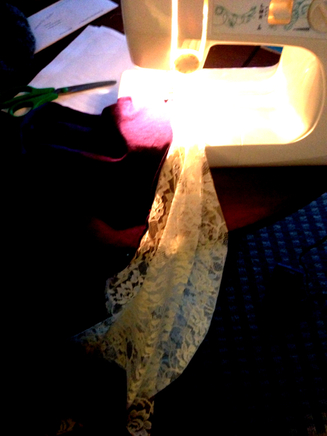
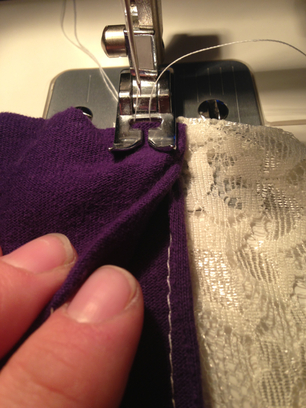
Sew the lace to the t-shirt, I fed the fabric with the t-shirt side facing the needle.
| 
Pin the lace and t-shirt on the short edges to make a long strip.
|
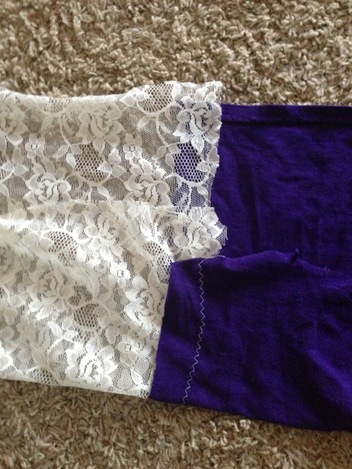
This side has the correctly made zig-zag stitch.
For those of you who are a little rusty with their skills (like myself), I recommend checking out this post from Instructables, which gives lovely how-to tips and tutorials for using your sewing machine. The tutorial from Humblebee & Me says to use a zig-zag stitch to secure the fabric and lace together, if your machine does not have this setting, or if you forget to set your machine like I did for half of my scarf, you can use a regular stitch (so far mine has not fallen apart). With your edges sewn, you should now have a loop, which you can wind and wear as a scarf. You could probably stop here, or you could add a top-stitch to finish the edges. I attempted the top-stitch... let's just say it looks better on one side than the other.
I did the top-stitch incorrectly here, folding the seam allowance on-top itself, but on the incorrect side, so that there is a little piece of t-shirt that sticks out.
| 
Here, I correctly made the top-stitch (I think), but I should have stopped myself before adding that second seam...
|
To create the top-stitch, I recommend checking out this blog post from the mother huddle. I attempted it and, after completing one side, realized I had done it backwards, but since it worked, I will share my clumsy mistakes. With a warning that, as usual, it could be a bit more polished... Anyway, to make the top-stitch, I folded the excess seam allowance on top of the t-shirt side of the scarf. Try to hide the rough edges of your scarf and any uneven stitching (if you can) to give it a finished look. Sew a straight line down the length of the seam allowance, holding it in place. Do this for each side and you're done!
Note the difference in the top-stitches...
| 
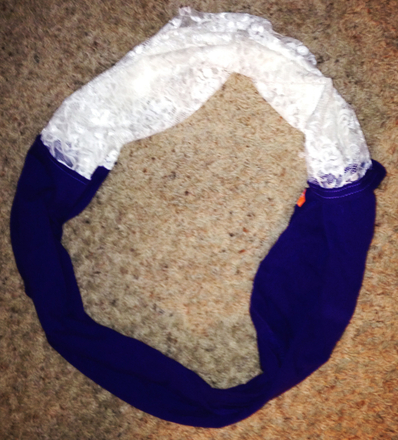
Voila! The finished product!
|
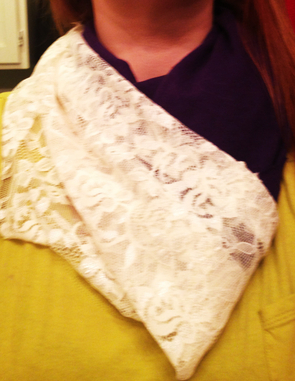
Now that you've finished with your topstitch, you're done! That's really all it takes to sew your own infinity scarf. Now for styling tips (which I admit to not having mastered) I recommend looking at this site I found on pintrest....and good luck!

 RSS Feed
