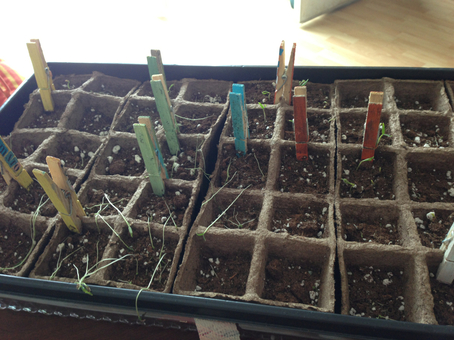
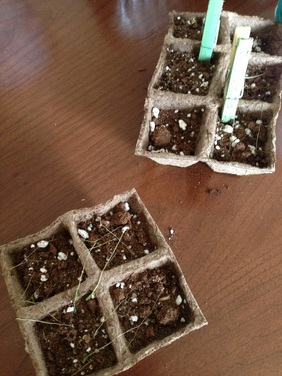
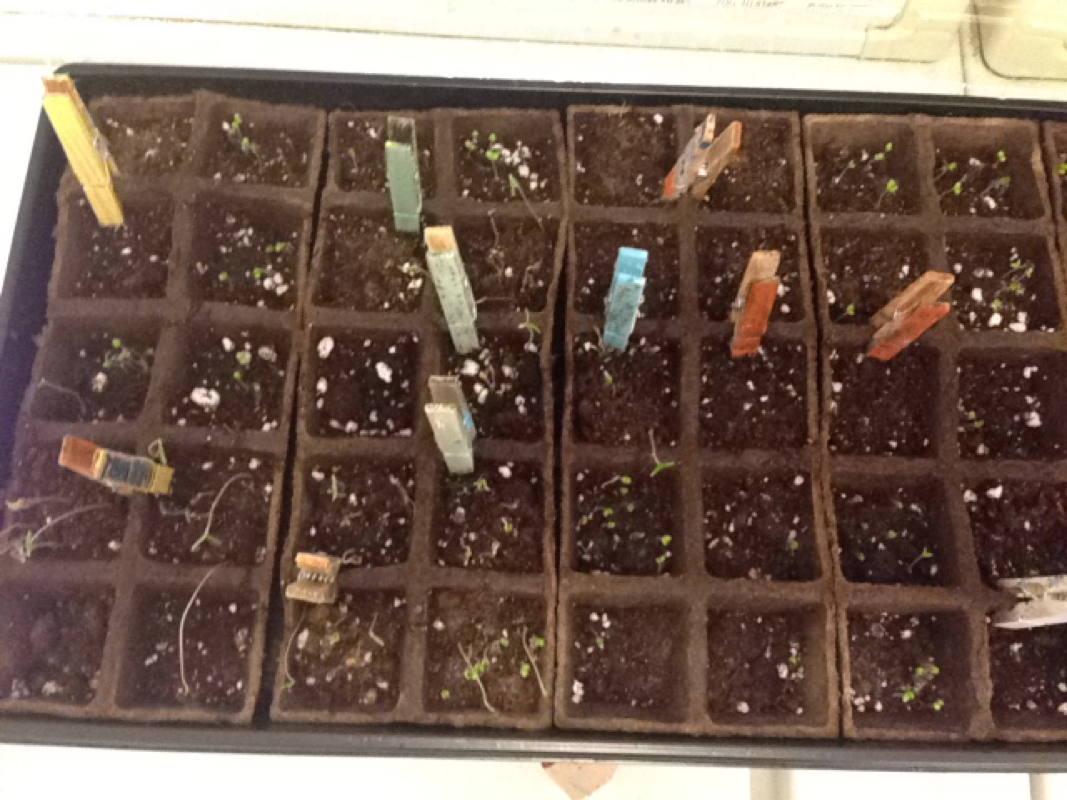
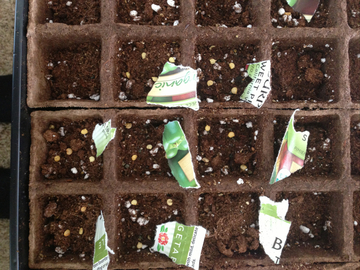
It's been a gorgeous few days here, downright hot even! While this is quite lovely, it is also long anticipated, and I can't really blame the bf for being antsy for our recently potted sprouts to get on with it and do something already! So since our pots have remained resolutely barren (and those that were green have since wilted) we picked up a few plants to transplant this weekend.
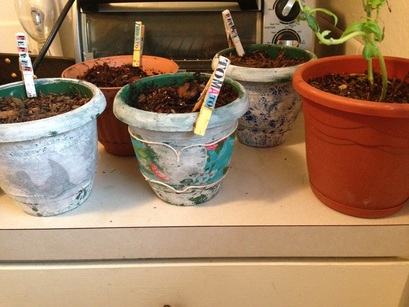
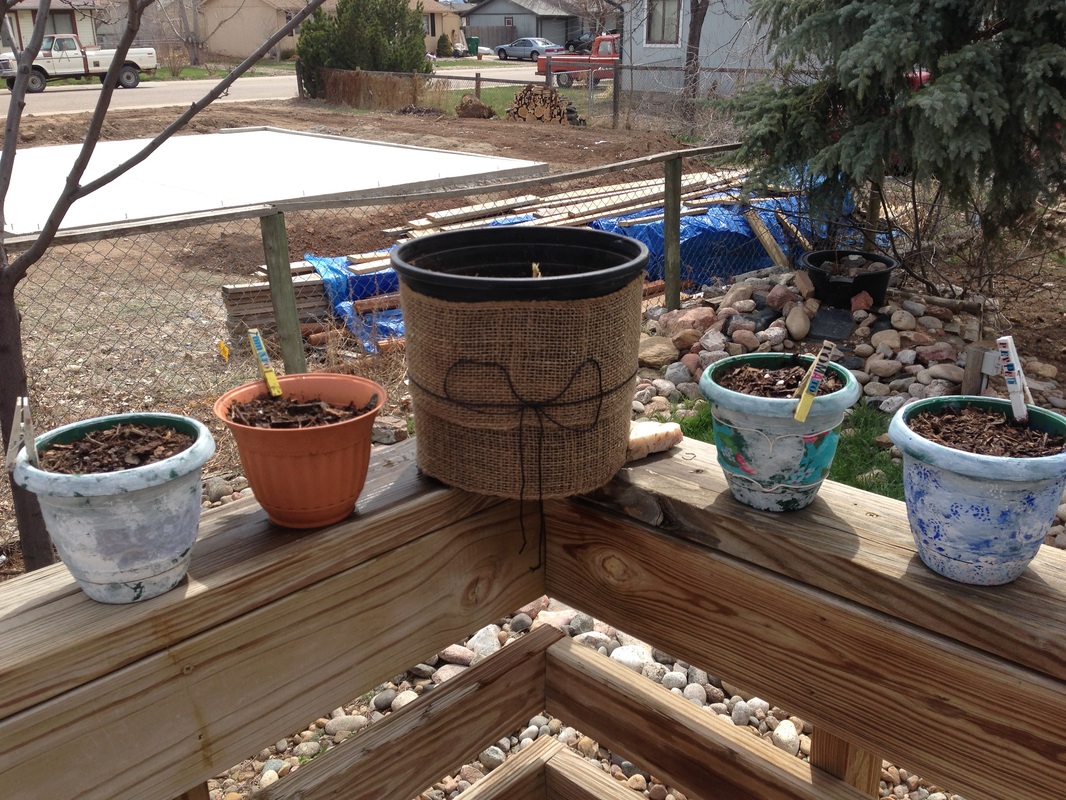
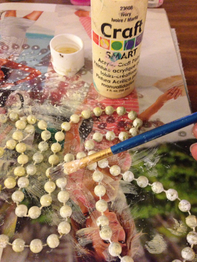
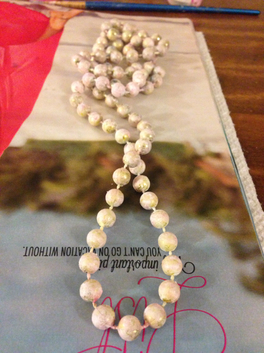
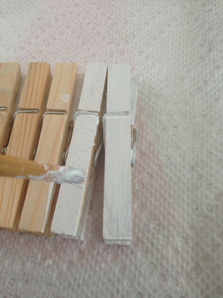
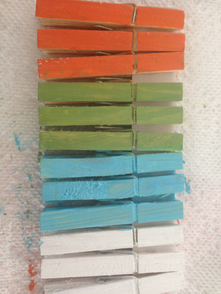
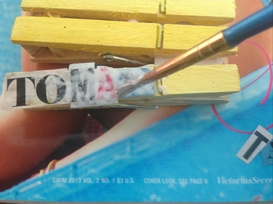
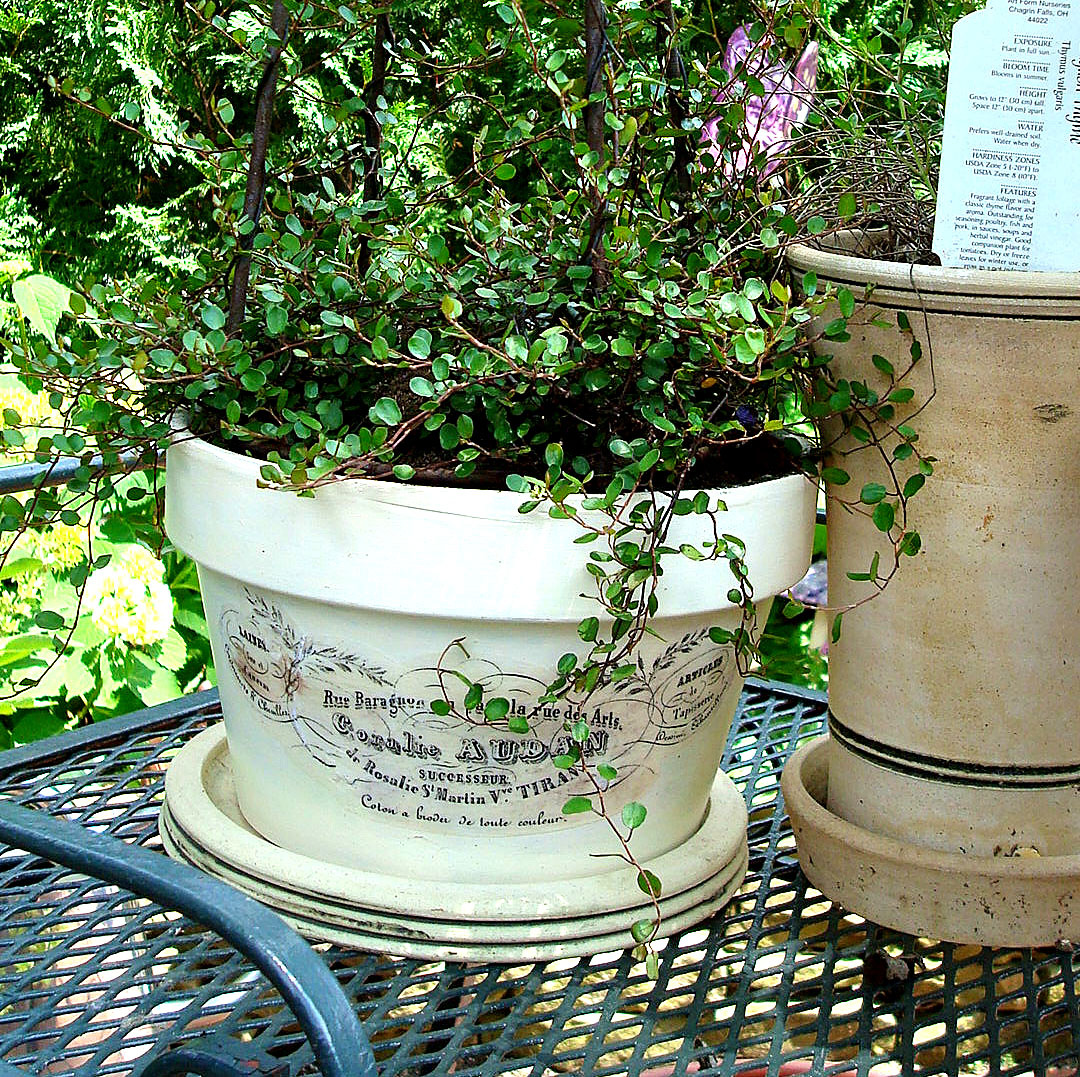
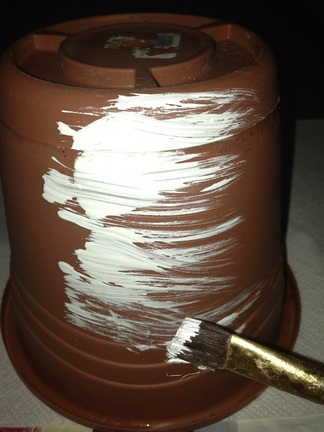
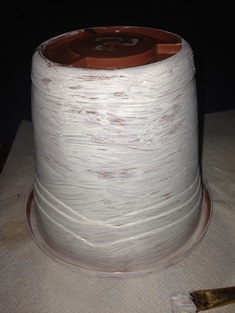
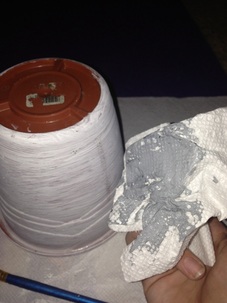
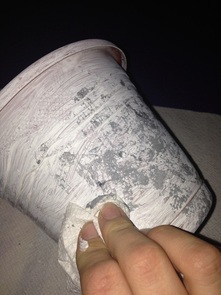
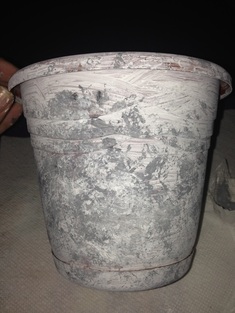
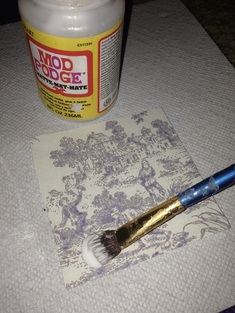
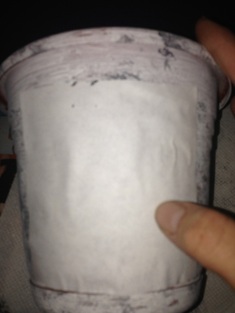
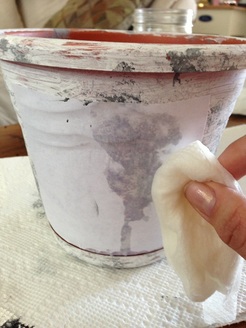
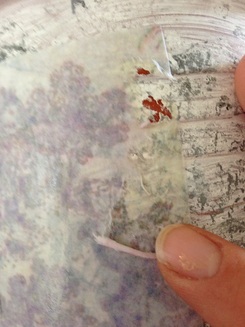
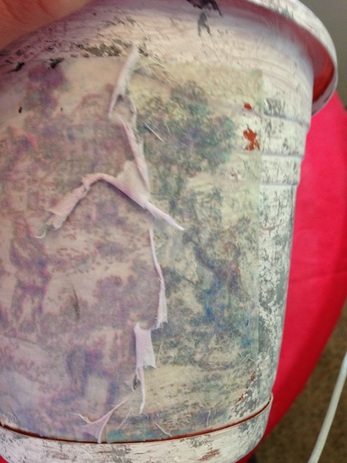
We bought a few container plants as well, just assuming we may fail to grow anything! I planted a hanging strawberry, and a tomato in a big container...of course I didn't get a chance to decorate all of these, but check out this quick post I wrote for your own inspiration on decorating your plain plastic pots!
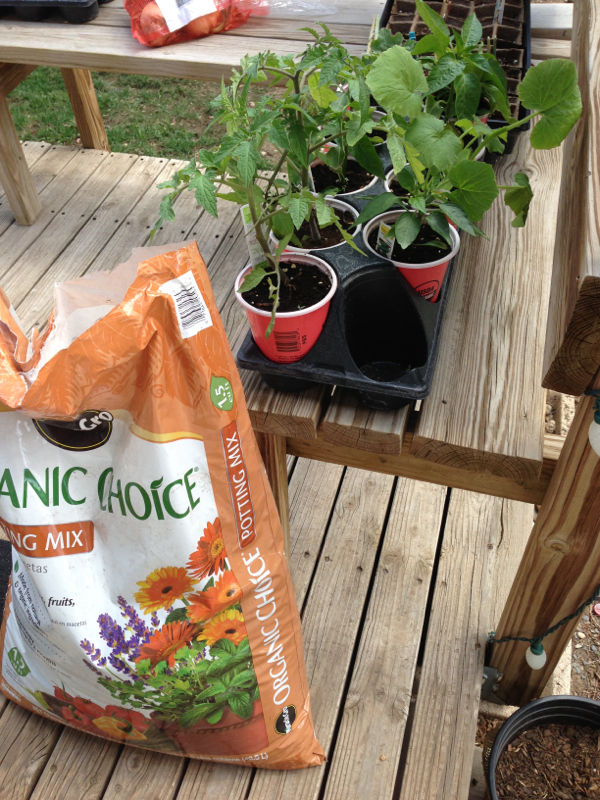
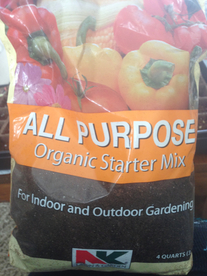
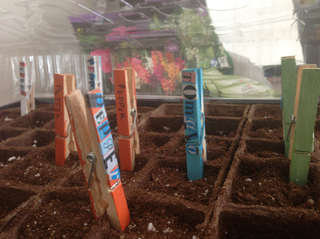
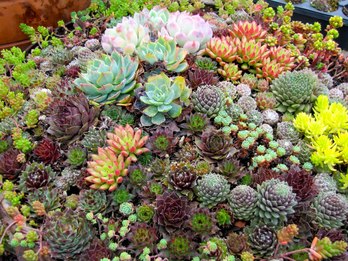
We bought some healthy looking plants to supplant my failed seed project!
We began by digging up the nasty side yard of our little rental house...of course, even though Bf called the landlord before we started, we still ran into a few unexpected burrows cables. To avoid damage and potentially sending yourself back to the dark ages, I recommend tracing out the intended garden area and looking for buried cables before you start digging.
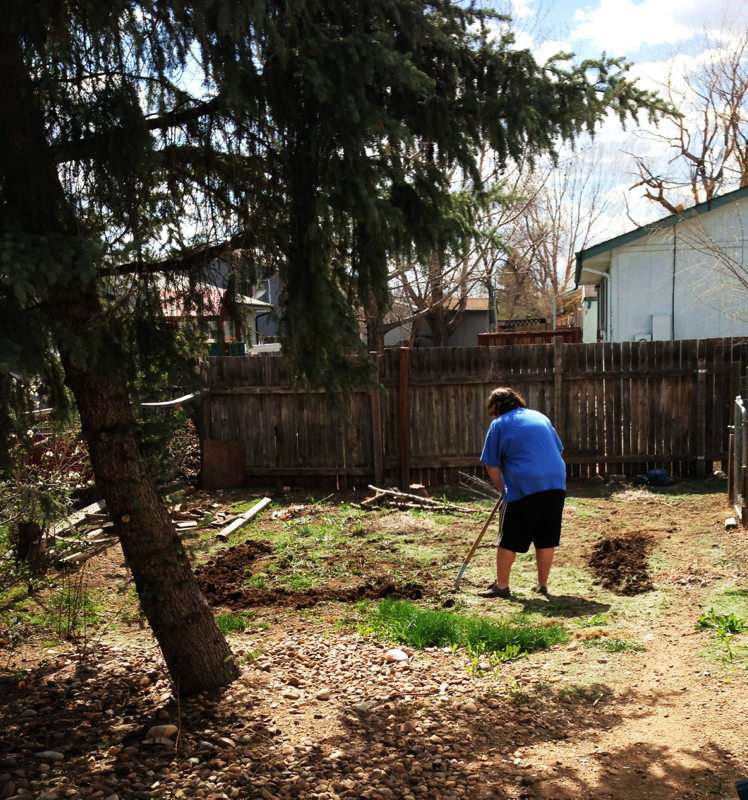
Bf dug up the nasty dirt with a shovel to turn it over.
After turning over a large (cable free) plot of land, we broke apart large chunks of dirt with a hoe, picked out all of the rocks and sticks and roots, and raked the dirt smooth. Bf made neat rows and we planted a few seeds and transplanted a few plants. The handle of the hoe turned out to serve as a nice measurement for seeds requiring 1-2 inches of soil depth. We added a bit of potting soil to cover the seeds and drowned them in water.
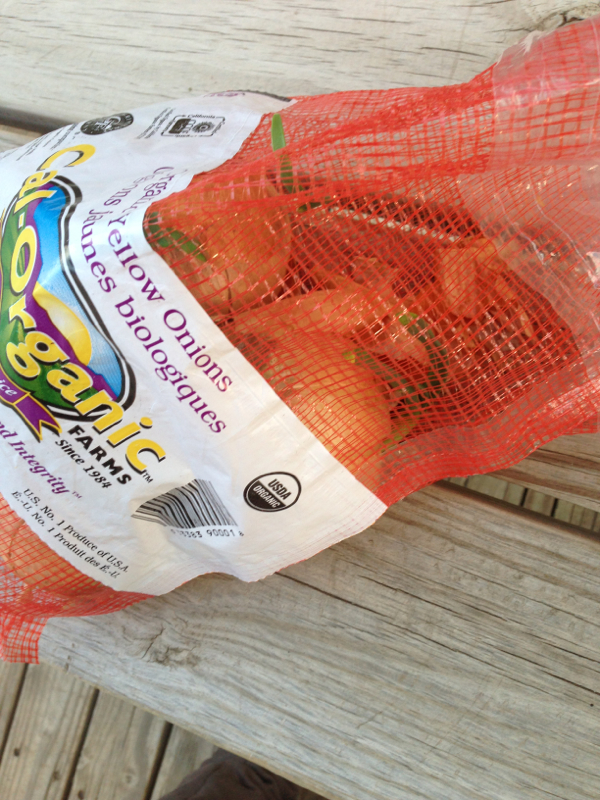
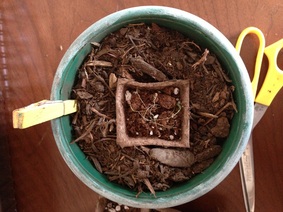
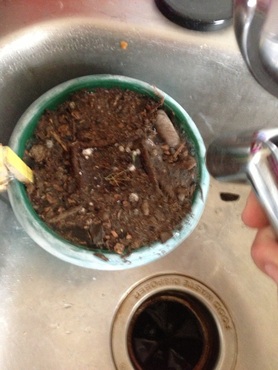
Some onions were left for too long in our spare bedroom, I've decided to plant them for some extra greenery in a few dead beds around the yard.
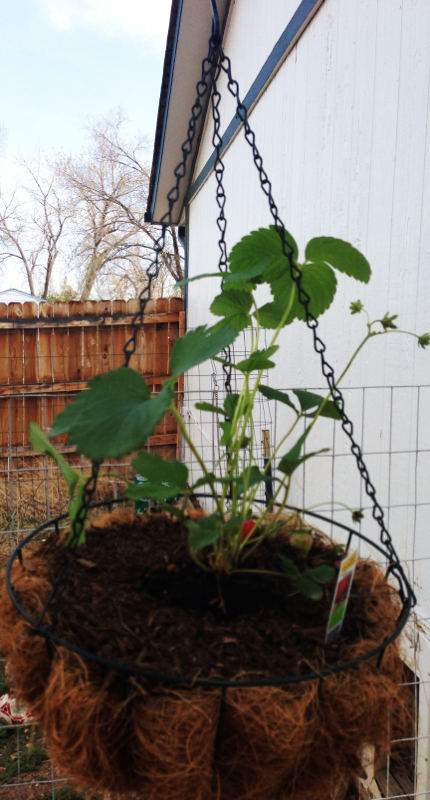
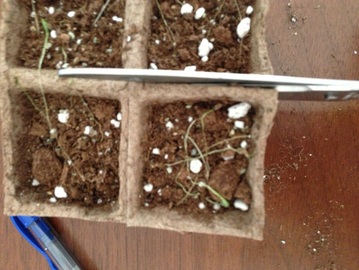
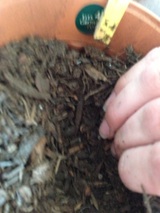
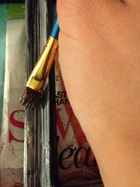
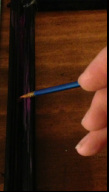
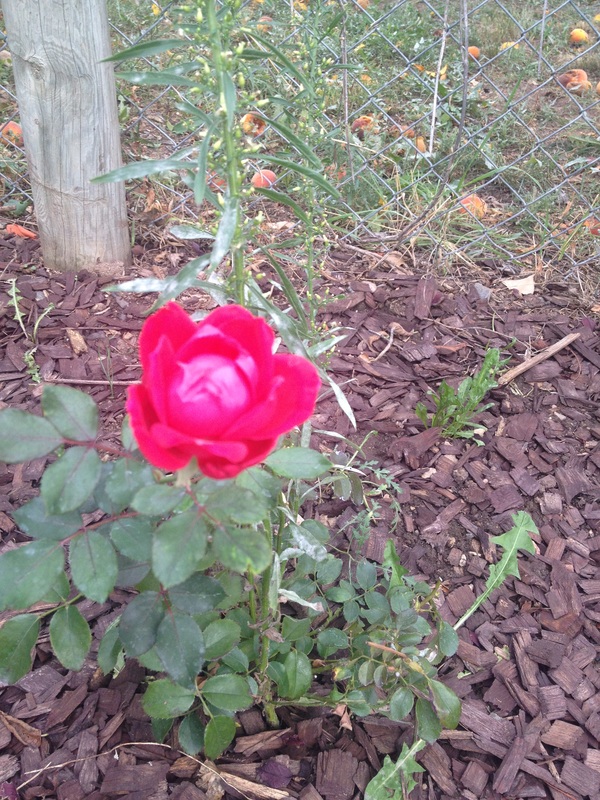
Can you see the little baby strawberry? We planted this guy here in the hopes that he'd adapt to life in a hanging basket better than the bulbs did!
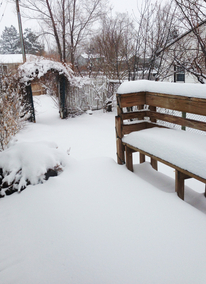
And now for the big reveal.... Ha! I promise to keep you thrilled readers updated on the progress, of course!

Our little veggie garden! Lets hope they thrive!


 RSS Feed
