It's been a bit late in coming, but I wanted to share with you some of my new additions to my garden as well as to give you a little progress report on the veggies that I recently planted!
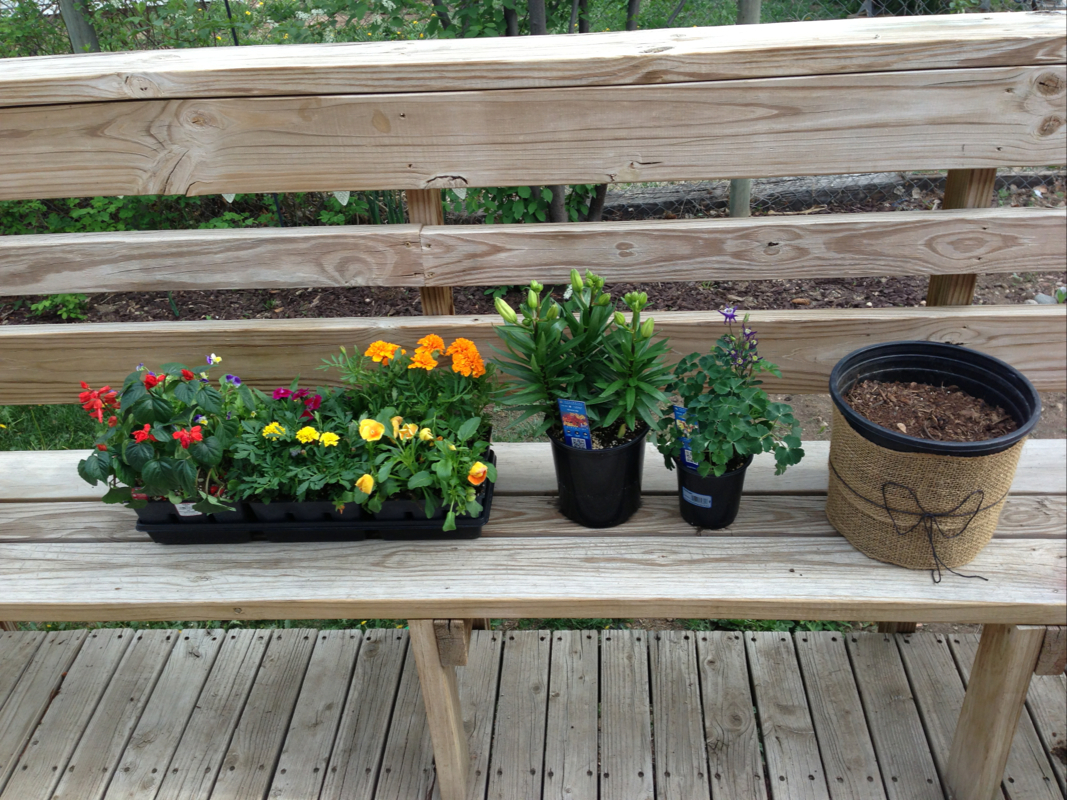
As you can see, my bulbs have not been sprouting, so last week we went out and bought some flowers to brighten up the place a bit
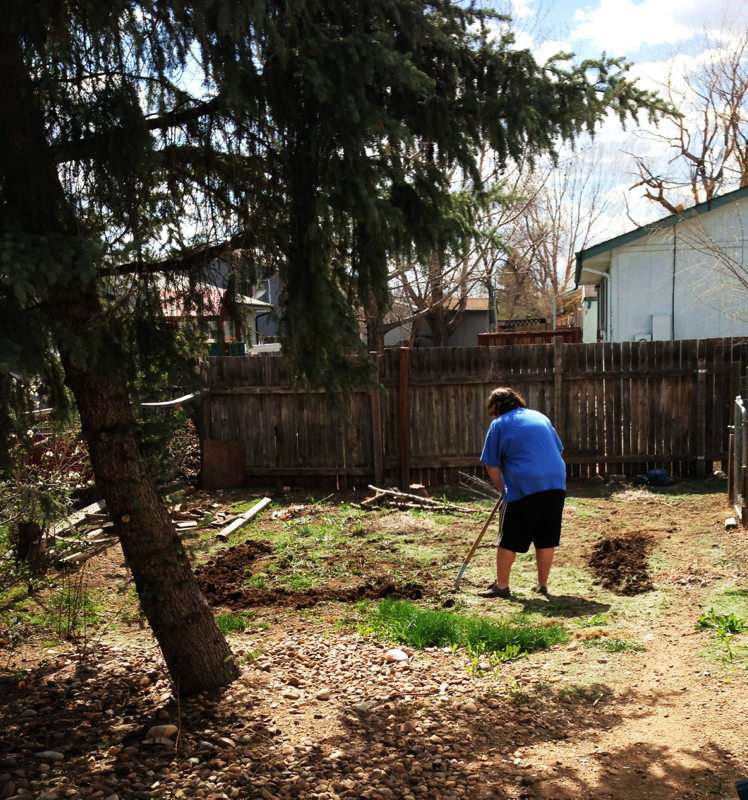
With my seeds and bulbs having failed pretty miserably, I thought I'd stick with the transplanting method... So me and bf went out and picked up a few perrenials (columbine, poppy, lilly) and some annuals (pansy, marigold, viola) to put in some beds around the yard...but first it seemed like a good idea to clean things up a bit.
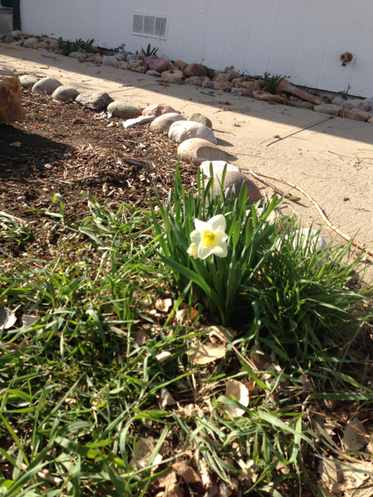
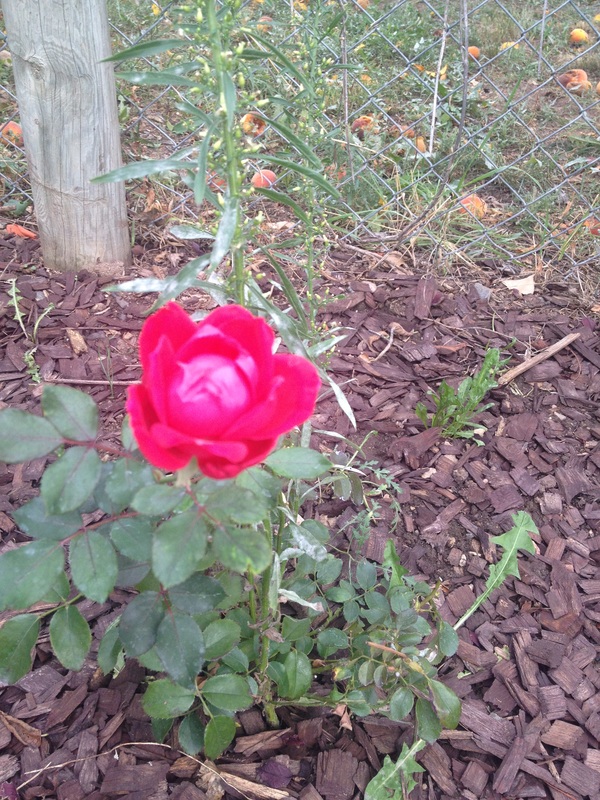
Sadly I think we may have lost the daffodils to the heat or the weed killer, but luckily I managed to snap a photo of its only bloom...too bad it is surrounded by weeds and grass.
The bf bought some mulch to help stop the massive weed issue, so after waiting a few days (probably too long), the landlords dropped off some weed killer and bf sprayed down the yard. We then got to work weeding and transplanting.
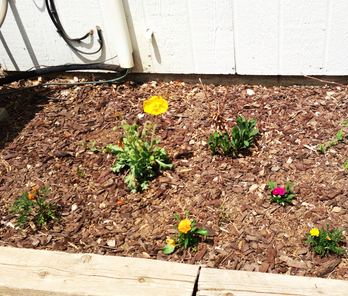
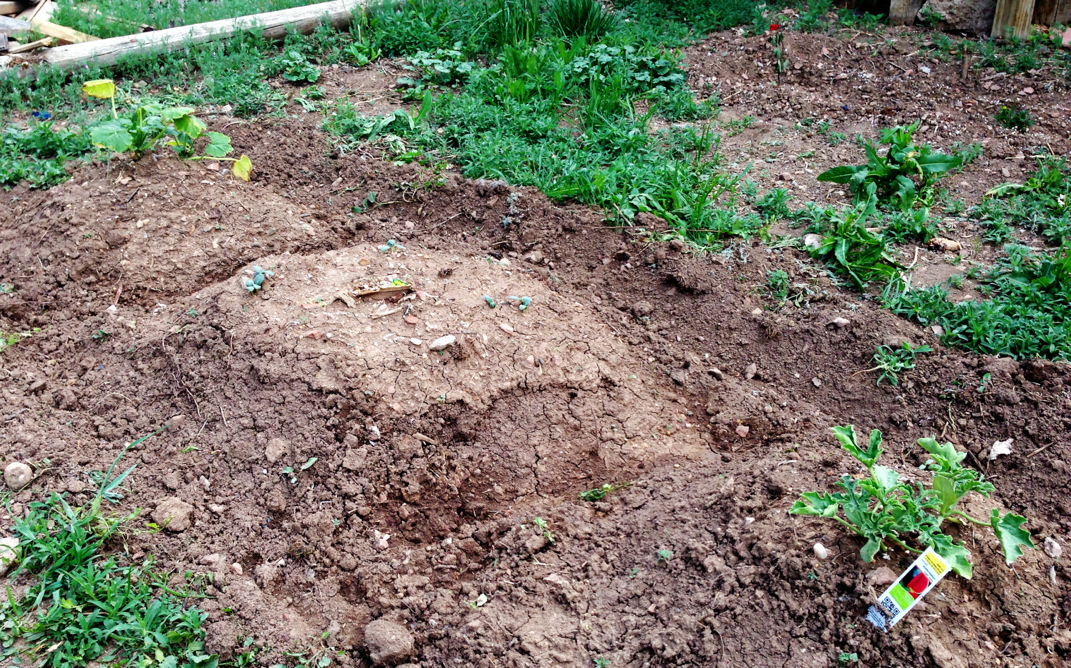
In this bed, in the backyard, I found a place for the poppy beside the returning daisy and a few other small growers.
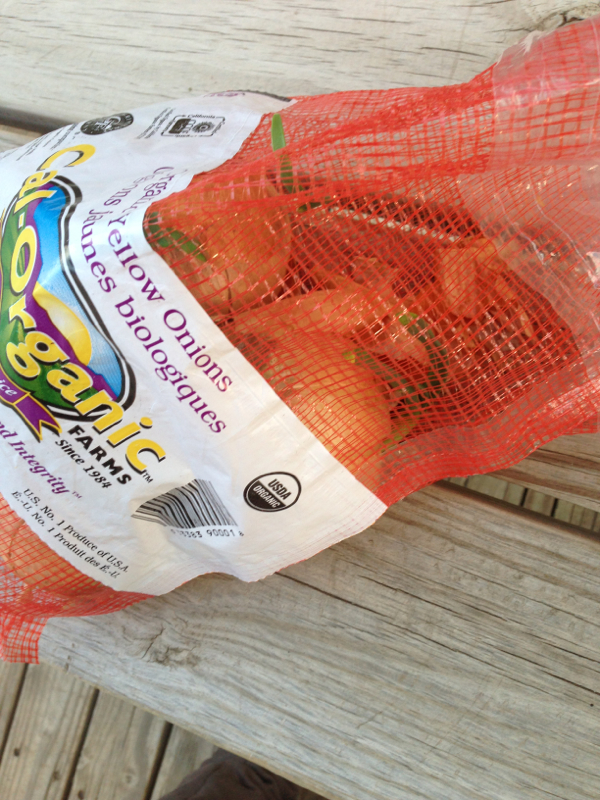
Here we have a few pansies planted by some unknown returning perennial and an onion bulb
| We happened to have planted a few mostly dead flowers last year, and apparently they were perennials, since some of them have begun to grow this spring. So I planted a few flowers around them to supplement and add a bit more color. 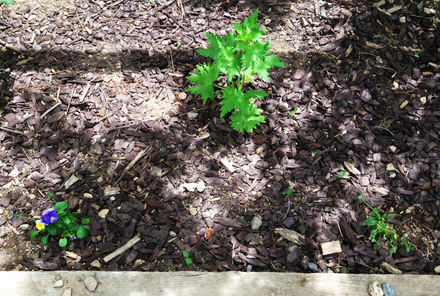
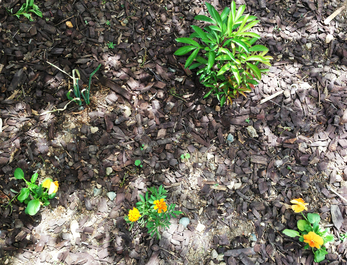
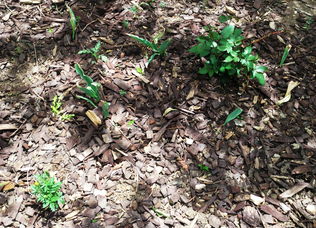
A few violas next to this butterfly bush which has miraculously come back from the mostly dead transplant that failed to thrive last year.
In the corner of the yard, we have a few roses, and what might be daffodils, so I added some onion bulbs and marigolds to supplement the pink color....if anything ever flowers
|
After a little bit of work, I think the garden came out quite nice. It will be interesting to see if any of the bulbs I planted grow.
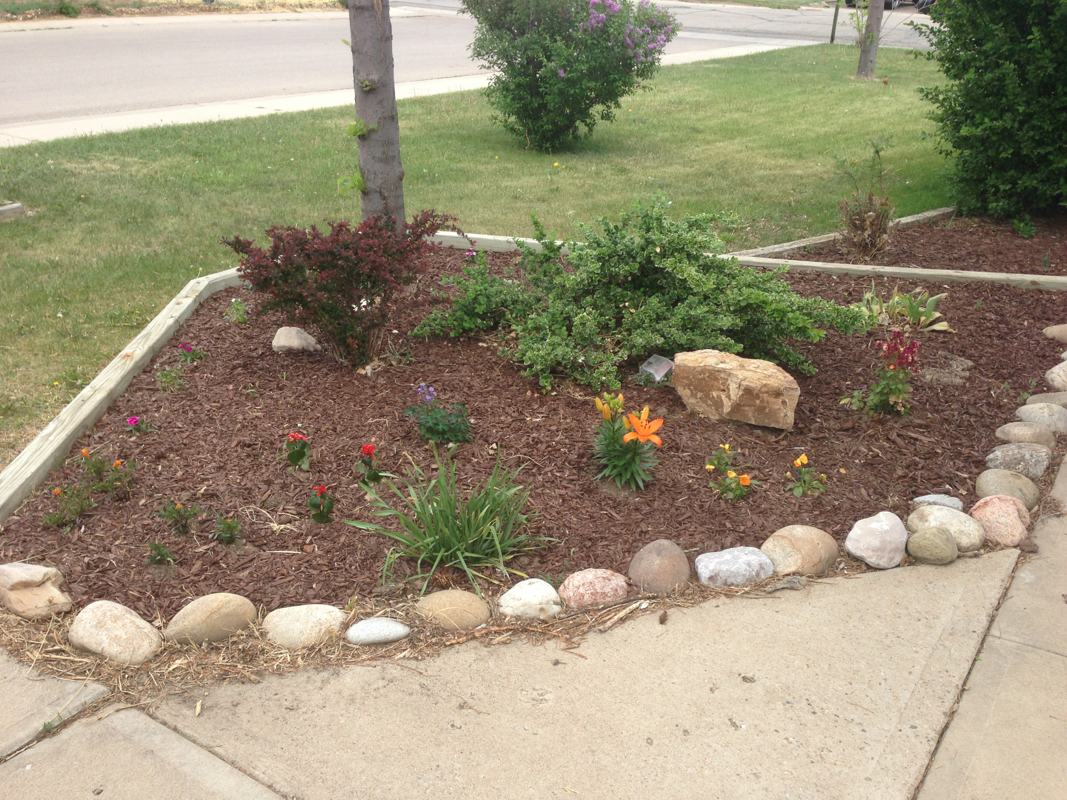
Here's the final result for the bed in front of the house.
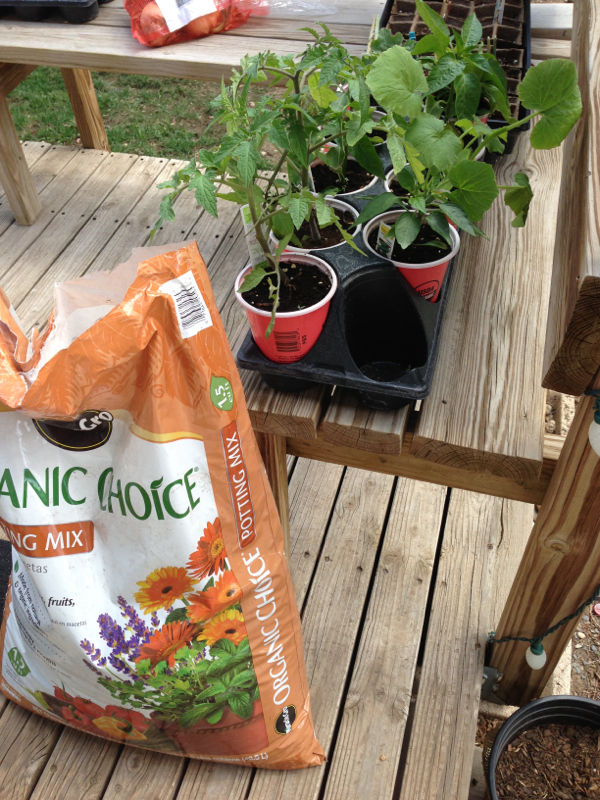
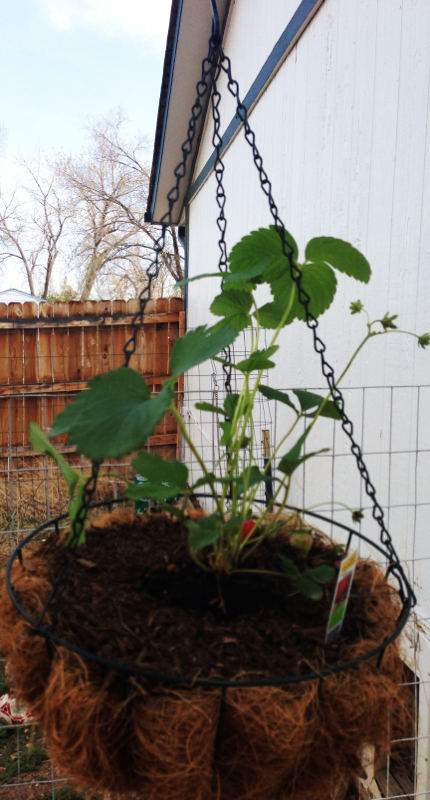
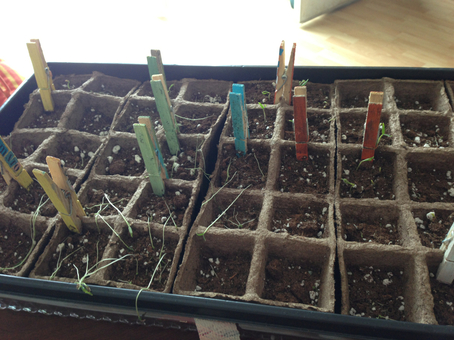
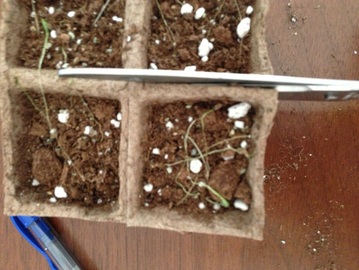
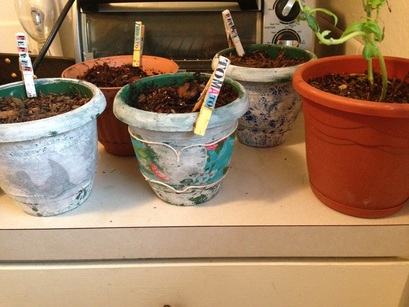
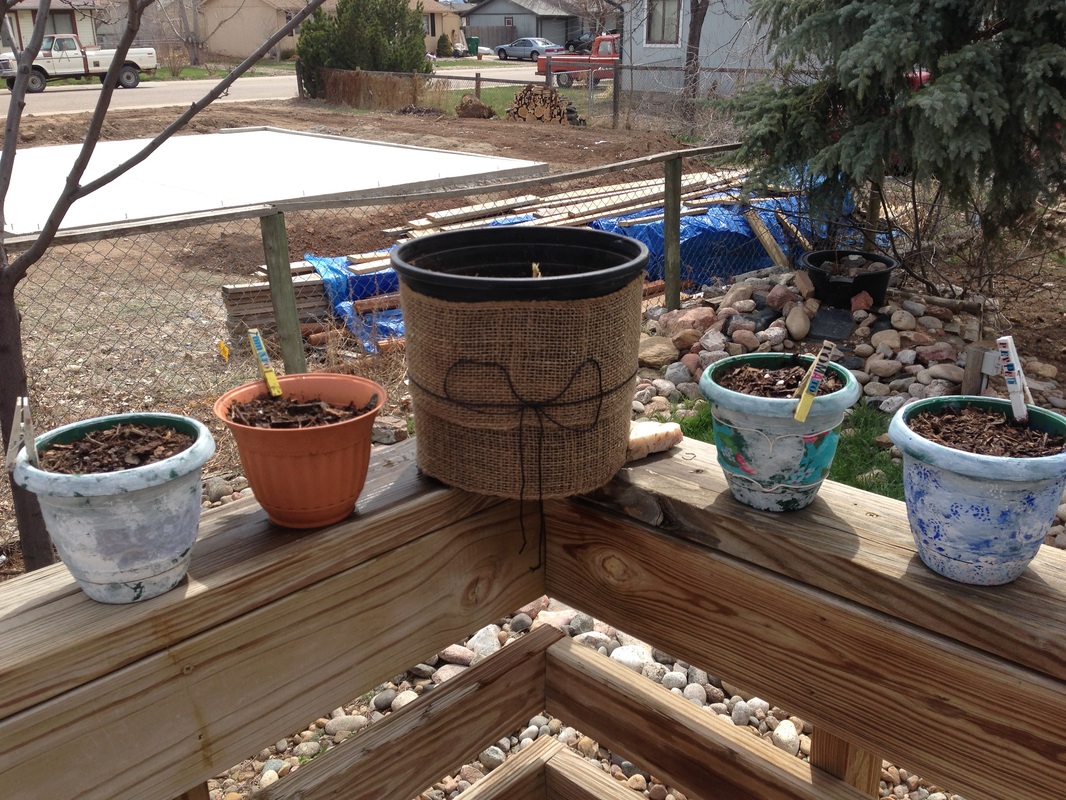
In addition to our newly replenished flower beds, the veggies in our little garden seem to be doing very well! We have sprouts of beans and broccoli from the seeds that were planted two weeks ago. The peppers look great, and we have even managed not to kill the watermelon. We did kill the cucumber but managed to sprout a few seeds...and the strawberry is bigger, although looks like it's had a bit too much heat. With any luck we may actually have some produce this summer.
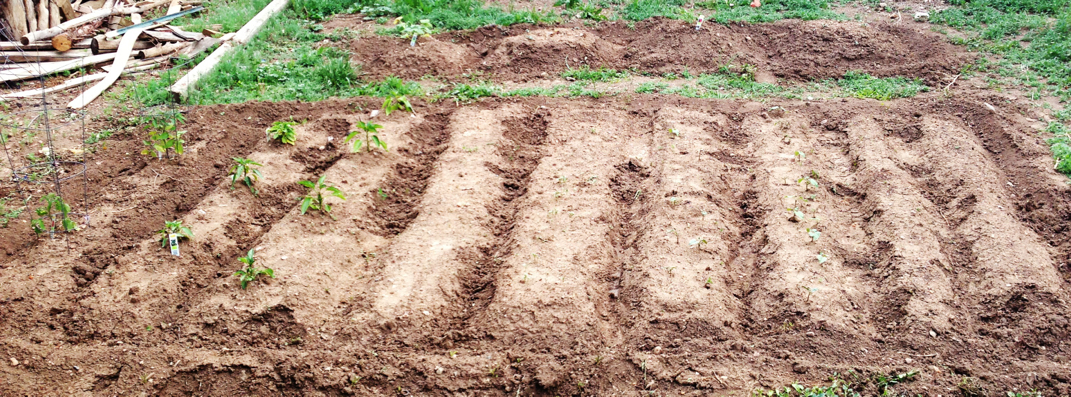
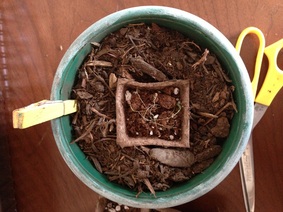
We caged the tomatoes, and I know it's hard to see, but there's a solid row of bean sprouts and two rows of broccoli, though the carrots are not sprouting as of yet.
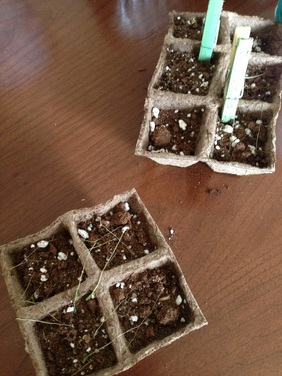
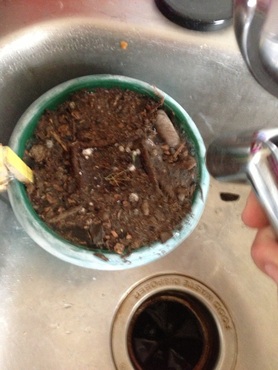
watermelon, cantaloupe, zucchini and cucumber...and a whole lot of weeds


 RSS Feed
