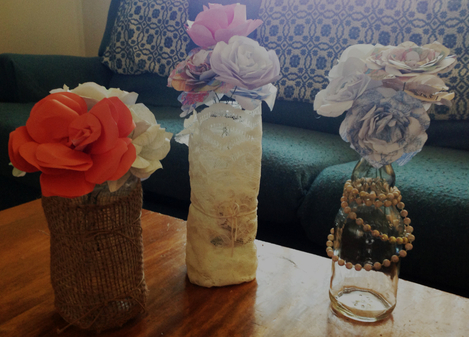
For this easy project, I washed some used kitchen jars and made vases to hold some of my paper flowers (to see how I made them, check out this blog post). I have been making so many of these guys lately that I just needed somewhere to put them until I am ready to use them in other crafts (I think a wreath is in order!).
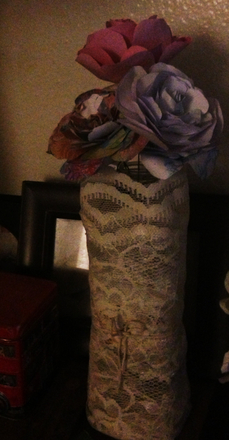
This was an olive oil bottle that I transformed using a spare piece of lace!
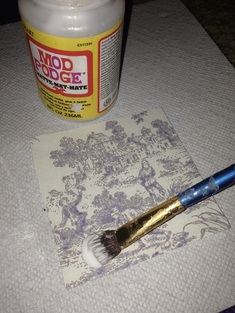
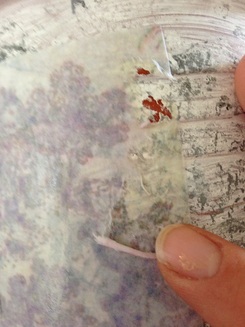
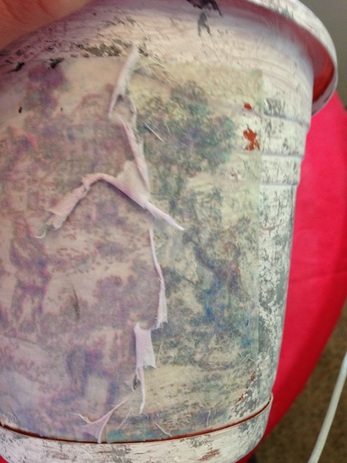
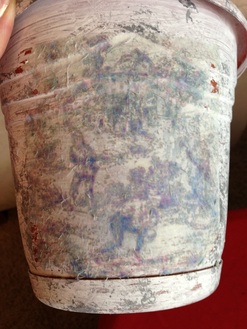
The first of these three was made using a spare piece of lace and some twine. I simply wrapped the lace around the bottle and secured it in place with the twine. My lace is wrapped twice, which makes it stiff enough to support itself at the neck of the bottle. I also simply folded the excess lace ubdrneath the bottle. If you'd like a more transparant look, or have less lace, you could cut a measured amount and use mod podge to seal the fabric to the glass. Alternatively, you can stiffen lace with fabric starch to make a delicate vase minus the glass olive oil bottle.
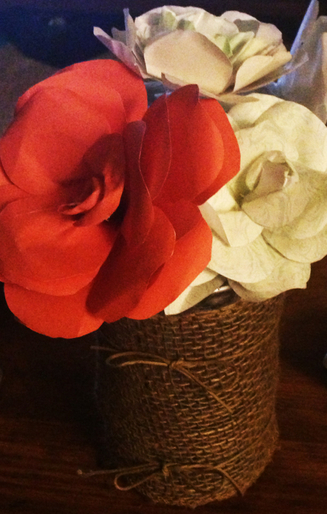
Burlap wrapped spaghetti jar
Similar to the above oilve oil vase, here I used a piece of burlap and secured it with twine at the top and bottom of the jar. Since burlap frays easily, I recommend cutting in between squares to get a straight edge. Also, as above, mod podge will seal the burlap in place and help prevent fraying (but make sure to trim any strings before you do this or they'll stay there!)
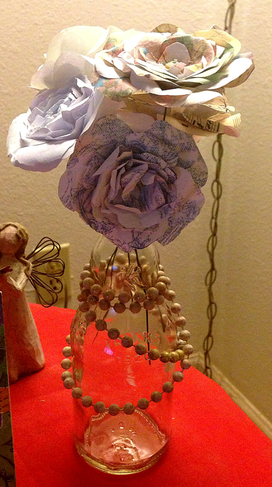
Hot sauce bottle with pearlescent mardi-gras beads
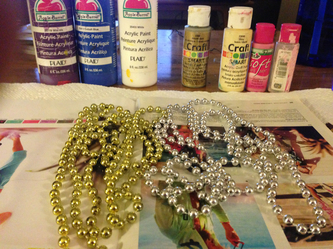 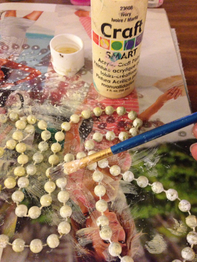 | For this simple vase, I painted a spare mardi gras bead necklace with a pearlescent paint. This was a little tricky, since the plastic material of the beads is resistant to paint. After using several coats, you can still sort of see the gold through, but I think they look much better! I didn't want to hide the fun shape of this bottle, so I simply wrapped my faux-pearls around the bottle! I am thinking about making another by painting the inside...maybe a peach or a light blue? What do you think? 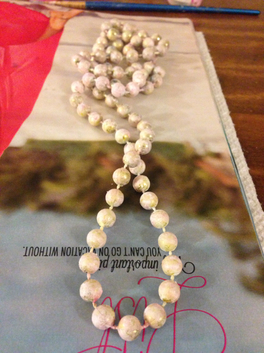 |


 RSS Feed
